How to create a new laravel app with initial setup and get everything up and running?
To create your first Laravel app, you will require some prerequisites and here is what you will need to have installed:
- Composer
- WebServer; I am using Apache ( For Windows and macOS, I will suggest downloading XAMPP )
- PHP greater than 7.2.0 ( If installing XAMPP, it will take care for PHP and Required Extensions )
- And following PHP extensions should be pre-installed as well –
- OpenSSL PHP Extension
- PDO PHP Extension
- Mbstring PHP Extension
- Tokenizer PHP Extension
- XML PHP Extension
- Ctype PHP Extension
- JSON PHP Extension
- BCMath PHP Extension
- Database; I am using MySQL
1. INSTALLING COMPOSER –
Now, to start with creating a Laravel project, we will require a Composer. To Install composer –
For MacOS –
- Open the terminal and navigate to the current user using command cd /User/
/ - Download Composer by running command curl -sS https://getcomposer.org/installer | php
It will create a phar archive file composer.phar - Now, move the created archive file to usr/local/bin by running the command sudo mv composer.phar /usr/local/bin/
- Now to make composer run from every point, we will be changing the permissions by running
sudo chmod 755 /usr/local/bin/composer.phar - For bash to know, where the composer is needed to be executed, run nano ~/.bash_profile
Add this line below to bash_profile alias composer=”php /usr/local/bin/composer.phar”
Now Save. - At last run source ~/.bash_profile
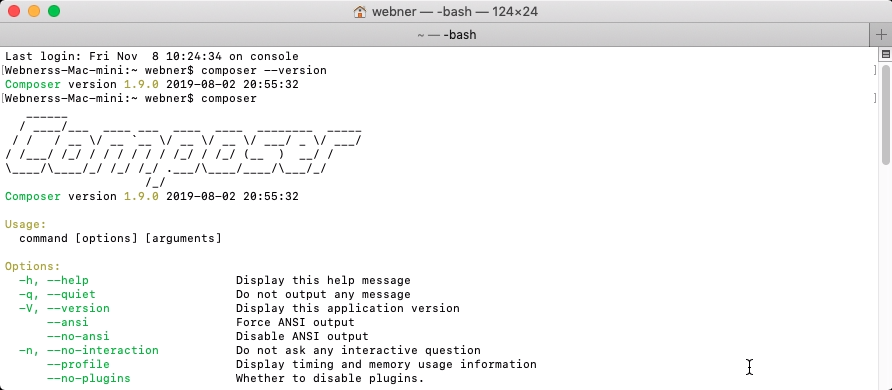
- Finally, execute command composer –version
For Linux –
- Open the terminal and navigate to the root folder.
- Download Composer by running command php composer-setup.php –install-dir=bin –filename=composer
- Now, move the created archive file to usr/local/bin by running the command mv composer.phar /usr/local/bin/composer
- Finally, execute command composer
For Windows – The easiest and most followed way to install composer on Windows is to download Composer-Setup.exe
file from https://getcomposer.org/doc/00-intro.md#installation-windows
After running the last command from each of the above OS, you will see the following screen in terminal/cmd prompt –
2. INSTALLING WEB SERVER
For Windows and MacOS download XAMPP. It will automatically install all the required dependencies required like
Apache, PHP, and MySQL. Go to website https://www.apachefriends.org/download.html
For Linux, follow these steps for Apache WebServer, MySQL, and PHP. These requirements collectively are better known
as LAMP.
Apache – Install Apache using Ubuntu’s package manager i.e. apt
sudo apt update
sudo apt install apache2
MySQL – After you have successfully set up a web server, we will proceed with installing the Database management
system.
sudo apt install mysql-serve
Now to remove harmful defaults and lock down access to your database system run this simple security script
sudo mysql_secure_installation
After running the above command, it will ask whether to VALIDATE PASSWORD PLUGIN. Press ‘Y’ here.
Create database using SQL Query – CREATE DATABASE FIRST_LARAVEL_DB;
Note: FIRST_LARAVEL_DB can be any name of your database.
PHP – For php run command sudo apt install php libapache2-mod-php php-mysql
3. CREATING LARAVEL PROJECT
After, the environment for creating a Laravel App Project is successfully set up, create the Laravel Project using the composer
command.
For MacOS, run the following command inside location – /Applications/XAMPP/htdocs/
For Windows, run the command inside – C:/XAMPP/htdocs/
For Linux, run the command in directory – /var/www/html/
composer create-project –prefer-dist laravel/laravel first-laravel-project
Note: first-laravel-project can be any name of your project.

And at the end will generate an Application Key, and the command will complete execution.

The project will be created successfully inside the selected directory in which the command was executed earlier.
Composer will directly install the project with required branches that include the latest framework.
Now, for the final setup, connect the project with the database. Update the .env file inside the project directory
DB_CONNECTION=mysql
DB_HOST=127.0.0.1
DB_PORT=3306
DB_DATABASE=FIRST_LARAVEL_DB;
DB_USERNAME=
DB_PASSWORD=
And save .env file.
Now, to run project run command php artisan serve

Boom, here it begins!