OpenProject is an open-source web-based project management system, which is widely used for team collaboration. This application is released under the GNU General Public License Version 3 and which is continuously developed and supported by an active open-source community around the world.
→ Steps to install the package on Ubuntu 18.04 Bionic Beaver
Step 1. Import the packager.io repository signing key
# sudo wget -qO- https://dl.packager.io/srv/opf/openproject-ce/key | sudo apt-key add –
Step 2. Repository requires apt to have https support, so make enable it
# sudo apt-get install apt-transport-https
Step 3. Add the package repo source using below single command
# sudo wget -O /etc/apt/sources.list.d/openproject-ce.list \
https://dl.packager.io/srv/opf/openproject-ce/stable/8/installer/ubuntu/18.04.repo
Step 4. Update the repo list using below command
# sudo apt-get update
Step 5. Install the Community Edition package
# apt-get install openproject
→ And now configuration:-
Start the configuration with the following command:
# sudo openproject configure
And follow the steps as per your requirements.
As I am going to perform this on fresh install OS without any other software installed.
So, follow the below steps as mentioned in screenshots:
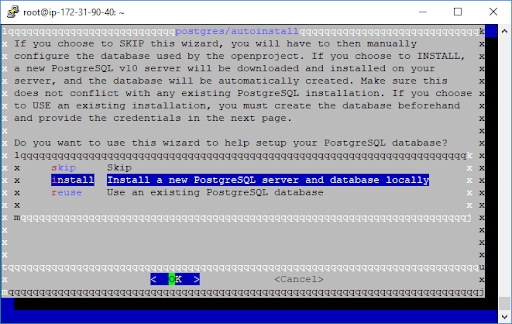
→ Install Databases as you can see in the screenshot else you can use your existing one.
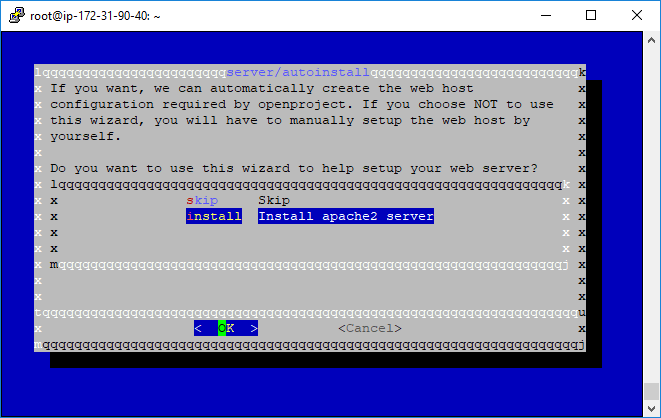
→ Install apache server.
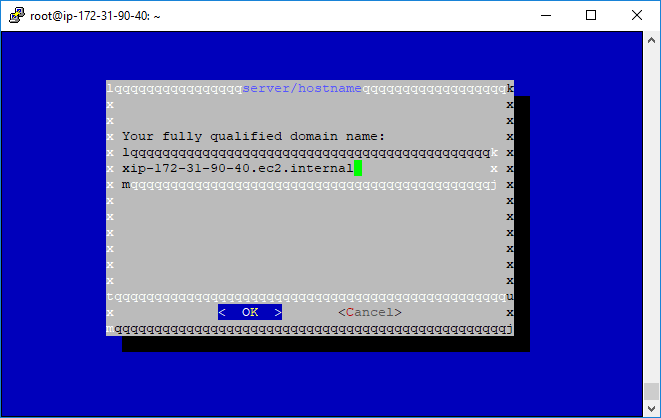
→ Enter host name which you are going to use for application.
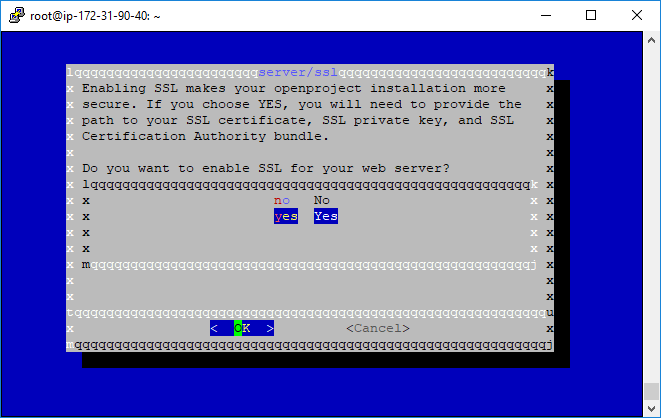
→ Enable SSL option and set path for SSL certs and key
→ SSL certificate path

→ SSL key path

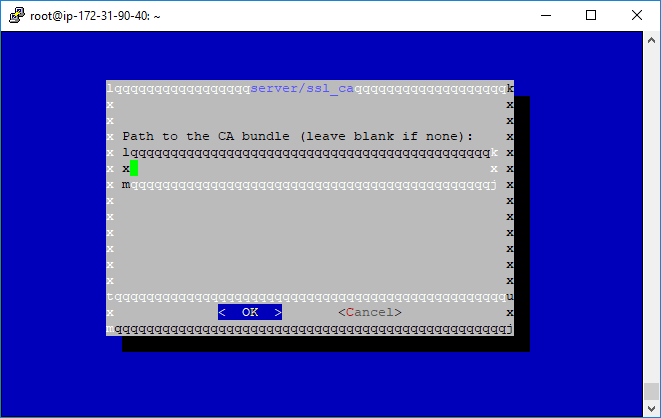
→ Path to CA Bundle certs if any.
→ It’s up to you if you want to use SVN or not, skip if you want to use Git.
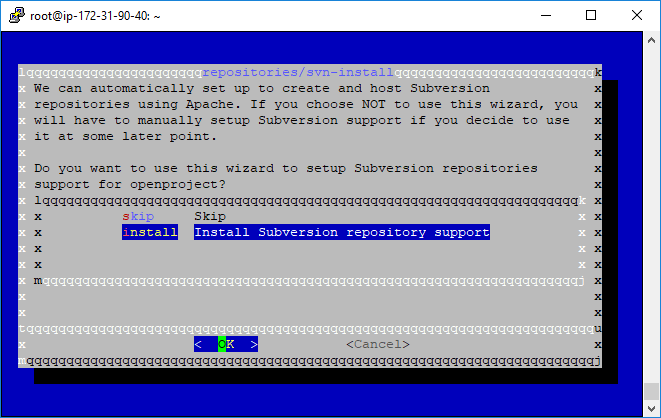
→ Location for storing SVN repos

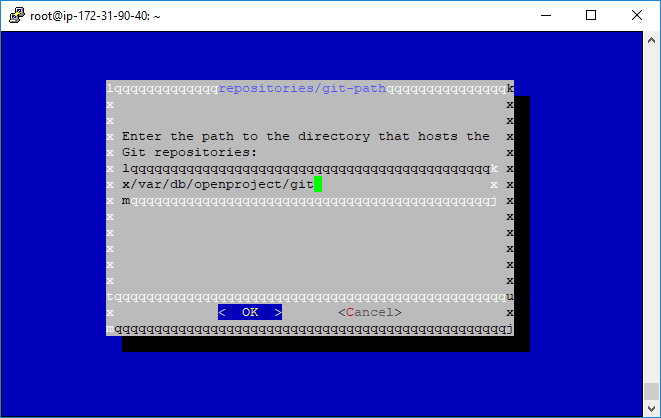
→ If you want to use Git then install this.
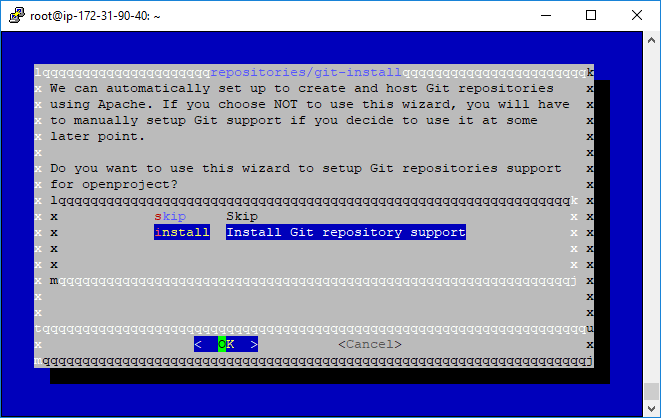
→ Path for Git repos
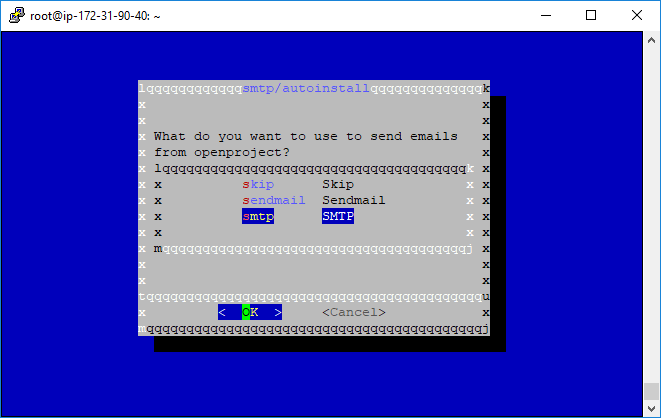
→ Here we have selected the SMTP method to send emails.
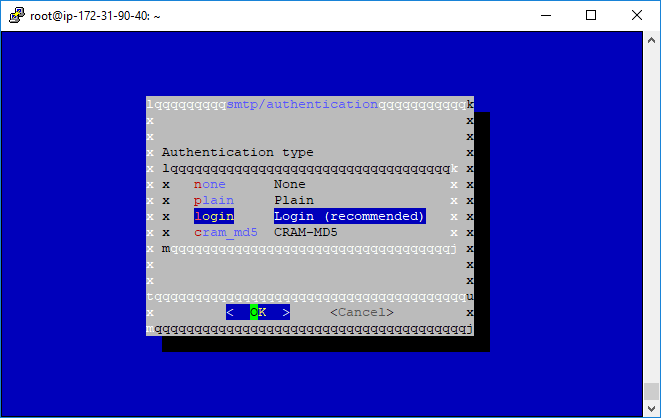
→ choose login method
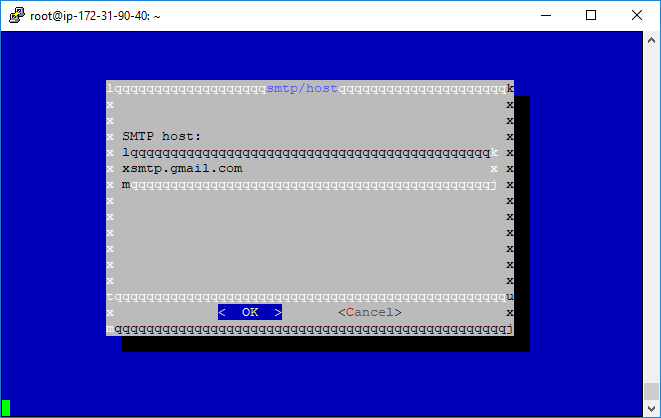
→ Mention smtp host name
→ Specify the port number used by smtp

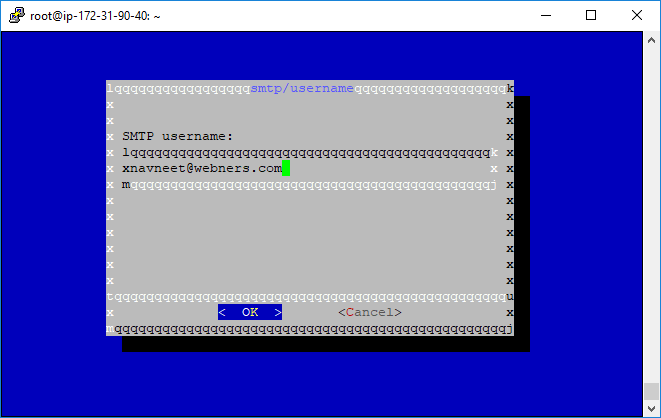
→ Mention the user name which will be used to send notification
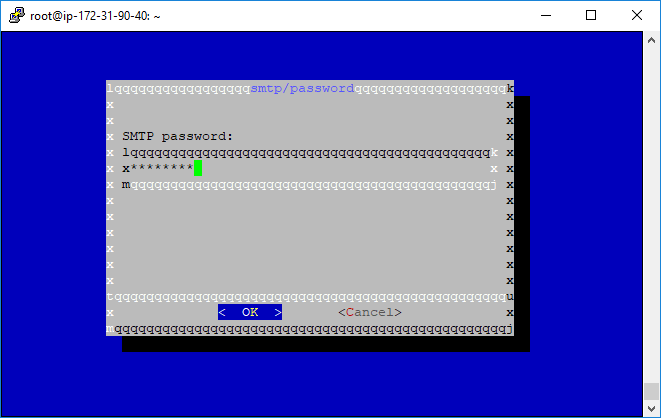
→ put the password here
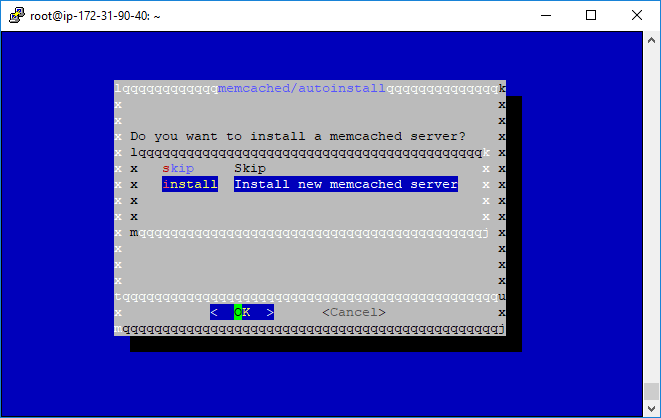
→ Install memory caching system to speed up dynamic database-driven websites
→ Additional configurations:-
Set storage location for attachments locally to any desired location.
# vi /etc/openproject/conf.d/other
Comment the below line:
export ATTACHMENTS_STORAGE_PATH=”/var/db/openproject/files”
Upgrade open project
Backup
Before performing an upgrade, we must take the latest backup of the current running open project.
First, take a snapshot (backup) if it is hosted on a cloud environment.
And then, to perform a backup, run the following command:
sudo openproject run backup
Note: The above command will store the current database dump, attachments and config to /var/db/openproject/backup.
For Ubuntu 18.04 operating system
sudo apt-get update
sudo apt-get install –only-upgrade openproject
sudo openproject configure