One primary purpose of creating the queue in salesforce is to manage particular object records. For example in lead queue, the queue is created to automatically assign the lead to particular user of the lead queue. As new lead enters the queue, the users of the queue are informed so that they can take ownership of the records and process the records as required.
We can create the queue in salesforce using following steps:
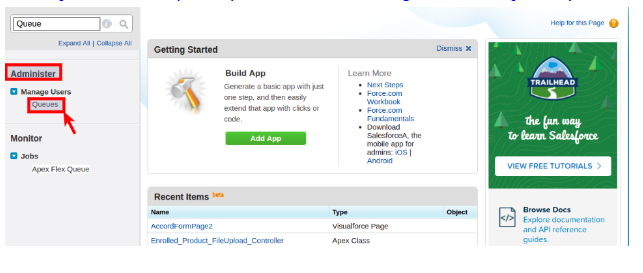
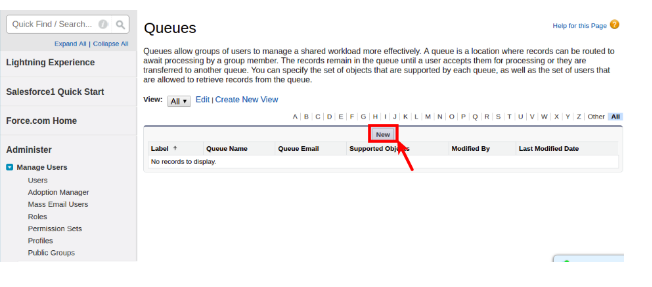
1. Quick find the queue (Administer – > Manage Users -> Queues).
2. Click on the New button.
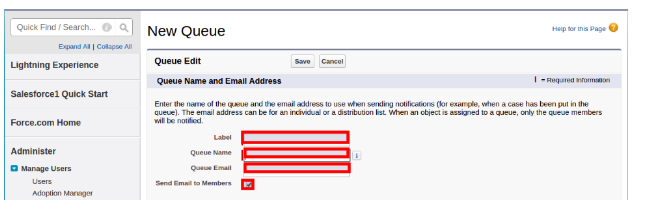
3. Fill the information like queue label, queue name, queue email and check the checkbox “Send Email to Members” so that when new record enters the queue the users of the queue get email so that one could claim the record.
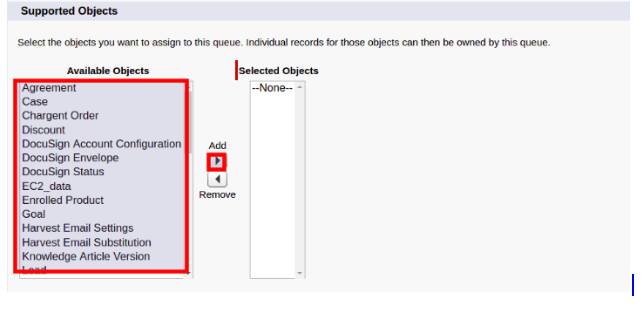
4. Select the object on which you want to create the queue and click on the add button.
5. Add the members for the queue that can claim the records in the queue. These users receive email when new record enter in the queue.
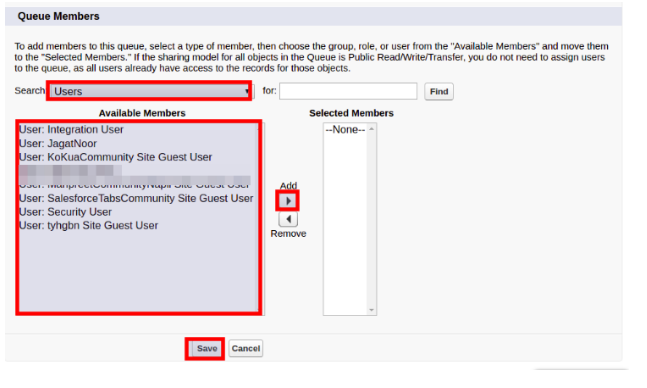
Then click on the Save button. The queue is created.