In one of our previous posts, we gave a brief introduction to Tarjetasvirtuales.
In this post, we will explain how a greeting card is sent using Tarjetasvirtuales.
After registering yourself in Tarjetasvirtuales, select the category of greeting card you want to send:
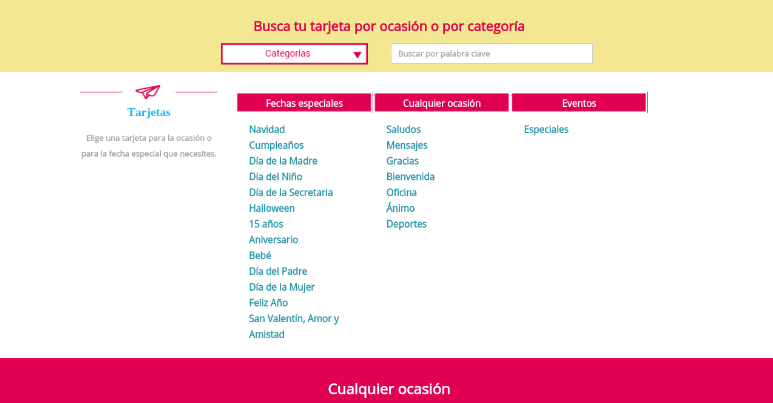
For example: let’s choose the first category “Navidad” (Christmas). All the greeting cards for Navidad (Christmas) are displayed:
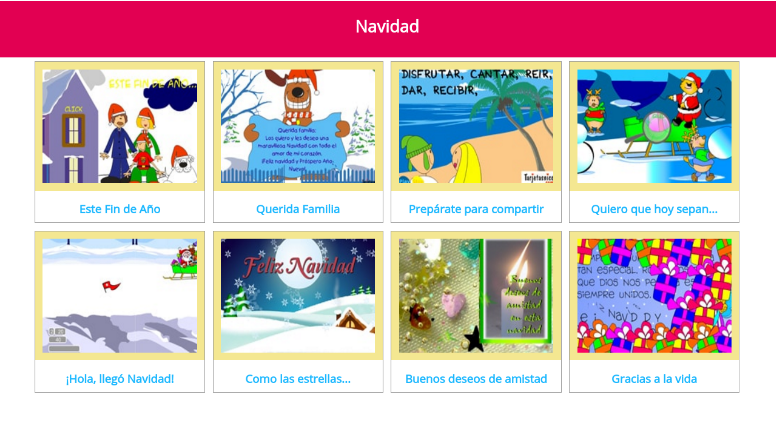
All cards are equally attractive ones, let’s go with “Querida Familia”, following screen appears:
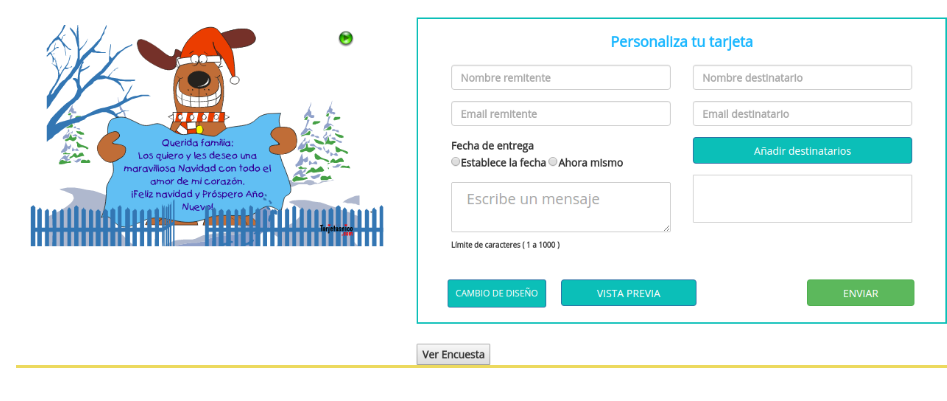
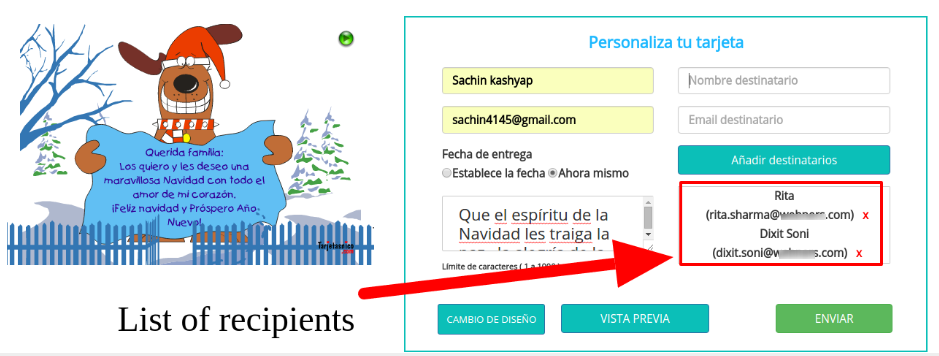
Fill in the fields:
Nombre remitente (Name of sender)
Email remitente (Email sender)
Establece la fecha (set the date) / Ahora mismo (Right now) – You can set date of delivery of when should recipients receive greeting card.
escribe un mensaje (write a message) – no greeting card is complete without a personalized message. Write a personal message of upto 1000 words.
Nombre destinatario (Recipient name)
Note: Recipient name and email are added in address book, so next time you send a card to same recipient, you need not to write email address, instead just choose from address book.
Email destinatario (Email recipient)
Have a look at a sample below:
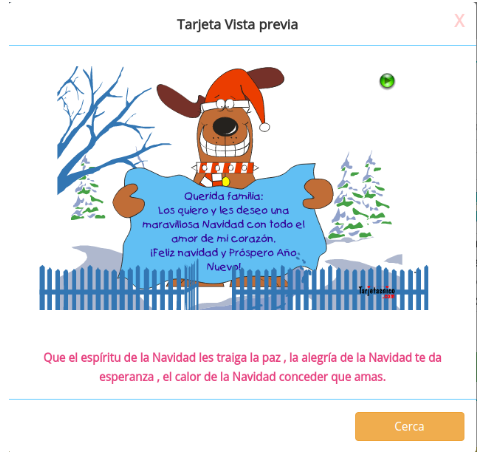
On clicking “Vista Previa” you can get a preview of how it will look once recipient opens it:
To send the greeting card to recipients, click Enviar (send) and greeting card is delivered immediately:
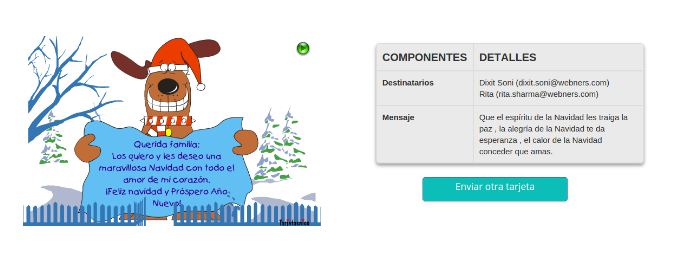
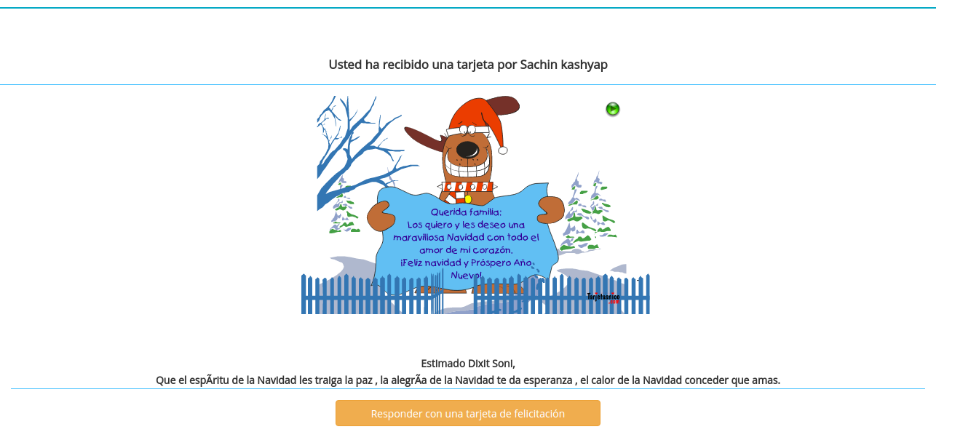
This is how a card will look like when the recipient opens it:
