For example, we already have one instance with a 20 GB volume attached, and we want to reduce this to 8GB or 10 GB, or any size as per requirement, then first we have to note the root volume’s block device name.

So in this case, the details are as follows
Block Device Name = /dev/sda1
Availability Zone = ap-souteast-2b
Stop the Instance:

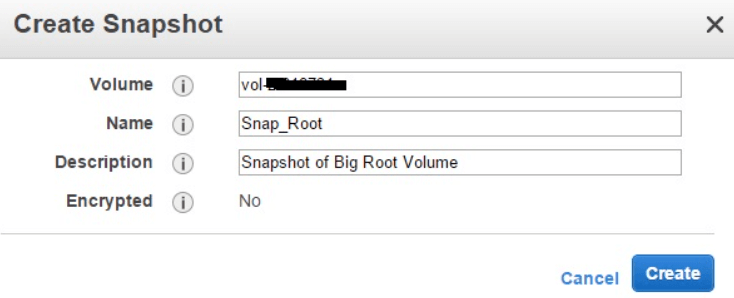
Create a snapshot of the root volume:

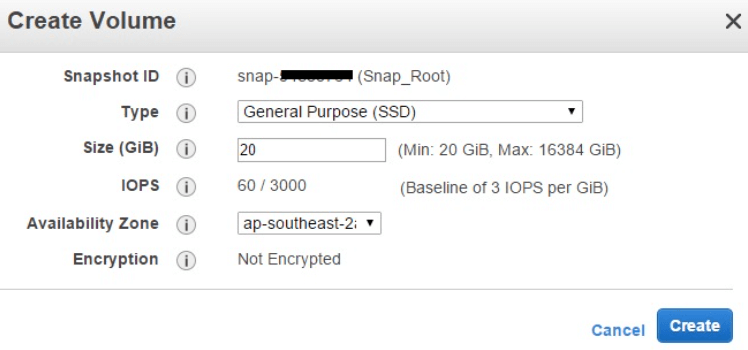
Create a second Amazon EBS volume:
Using the snapshot feature, create a second volume with the original volume size in the same location.

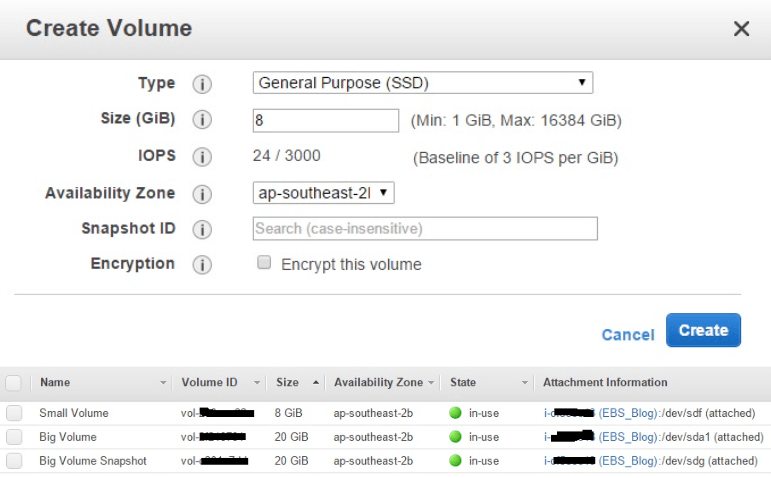
After that, you will have something like this:

Create an desired size of empty volume or for example 8GB Amazon EBS volume in the same availability zone

Now, attach both newly created volumes to the instance and again note down device name details.
Block Device Name Big Volume = /dev/sda1
Block Device Name Big Volume Snapshot = /dev/sdg
Block Device Name Small Volume = /dev/sdf
Restart the Instance and SSH in
Login:
ssh -i
Create a file system for the 2 volumes just created.
sudo mkfs -t ext4 /dev/xvdf

sudo mkfs -t ext4 /dev/xvdg
Create two mount points and mount the new volumes with those.
sudo mkdir /mnt/small

sudo mount /dev/xvdf /mnt/small

sudo mkdir /mnt/snap

sudo mount /dev/xvdg1 /mnt/snap
Sync the files with mentioned switches/options.
sudo rsync -aHAXxSP /mnt/snap/ /mnt/small
Unmount the smaller volume.
sudo umount /dev/xvdf
Stop the instance
First detach all the volumes.

Now, attach the decreased size volume to the Block Device Name in this step.
Block Device Name = /dev/sda1

Now you can restart your instance and verify that it is working correctly.
