Follow steps below to generate JPA Entity classes automatically in Eclipse:
Step 1: Create a simple java project and convert it to JPA Project using following steps:
1.1. Right Click on your Project.
1.2. Select Configure option from the menu.
1.3. Select Convert to JPA project option from the submenu.
Step 2: Now Right click on your project -> JPA tools -> select Generate Entities from table.
Following Dialog box will appear:
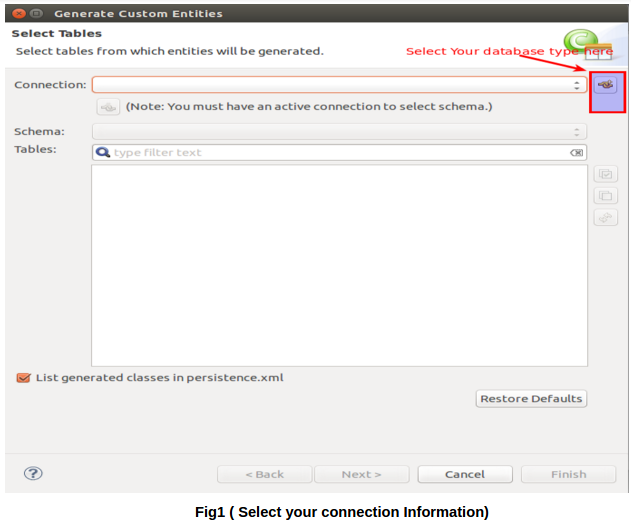
Click on the highlighted icon from the screenshot to see different connection Available.
Step 3: Select Connection Profile:
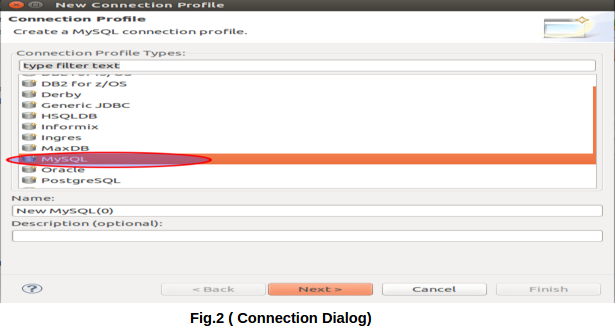
Select your Connection type (depends on your database type) and click on next button.
Step 4: Select Your Driver Information:
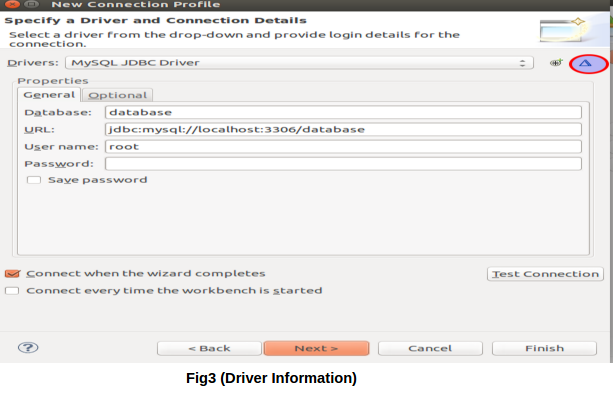
Click on the highlighted icon from the Fig3 to open Driver Information Dialog box.
4.1. Select Driver type:
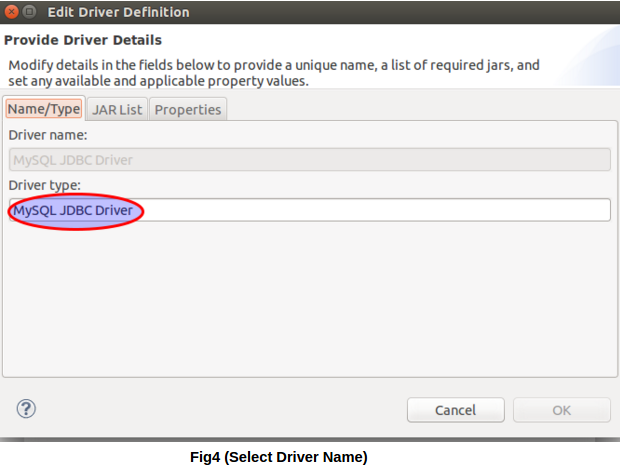
4.2. Add driver specific jar file:
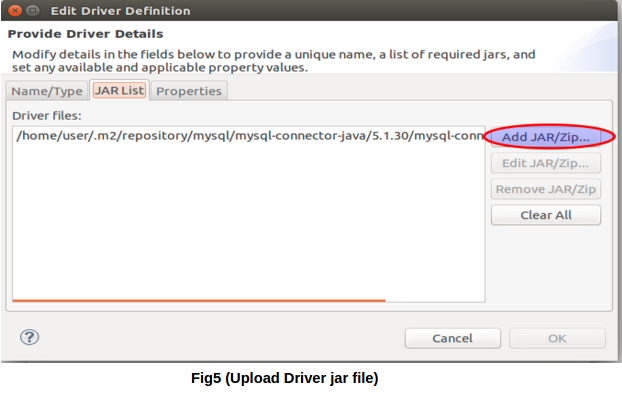
Upload the respective jar file and click on ok button.
Step 5: Add your database Connection Information:

Fill out Database name, connection url, username, password and click on next button.
Step 6: View Connection Profile:
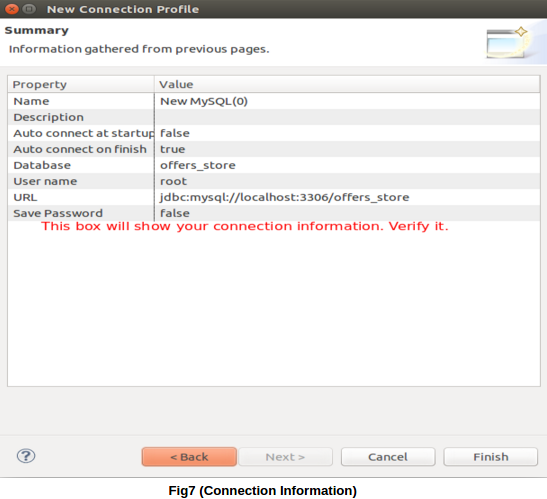
Please verify your connection information and if everything fine click on finish button.
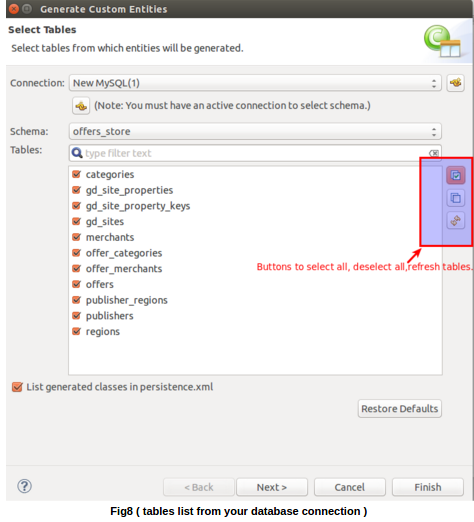
Step 7: View Database tables:
If everything goes fine, select your database name from the schema dropdown and you will be able to see all tables of your database. Select them and click on next button as shown in screenshot below.
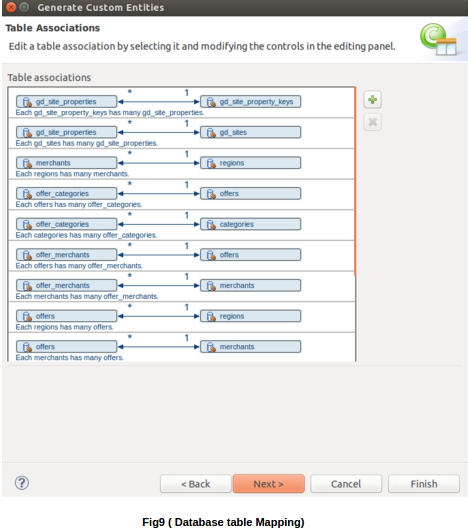
Step 8: Entities Mapping
Below Image will show the association between your database tables:
Step 9: Add Extra Information:
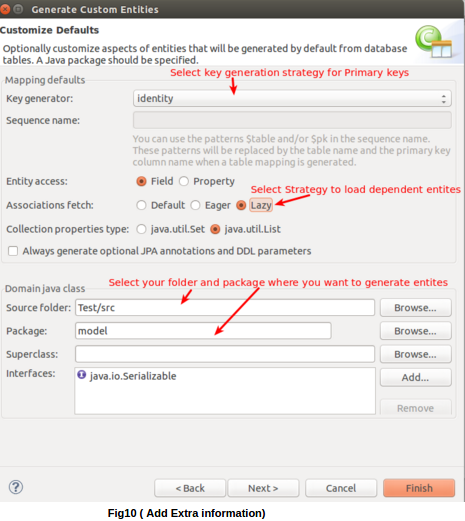
You can add Generation strategy for your primary keys .
You can select the fetch type(Eager, Lazy) for dependent Entities.
Select the source folder, Package where you want to place you generated entities.
If there is any superclass from which you want to extend all you generated entities, you can add that class in the superclass box.
Now click on finish button and after few seconds you can see all your generated entities in the specified location.