Divide Moodle Dashboard in 4 columns to place blocks in them
We were required to build a custom moodle theme that displays blocks in 4 columns one after the other in moodle 3.4.2+. To achieve this we created a new theme by modifying an existing theme Fordson present for moodle latest version 3.4.2+. Following is the link to download the fordson theme:
https://github.com/dbnschools/moodle-theme_fordson
Give a new name to your theme by replacing all the instances of fordson with new theme name.
Open layout/columns2.php file and add the following code to divide the dashboard main content area in 4 columns.
$blockshtmla = $OUTPUT->blocks('fp-a'); //column a,b,c & d
$blockshtmlb = $OUTPUT->blocks('fp-b');
$blockshtmlc = $OUTPUT->blocks('fp-c');
$blockshtmld = $OUTPUT->blocks('fp-d');

$templatecontext = [				//add the following code in templatecontext variable
      'fpablocks' => $blockshtmla,
      'fpbblocks' => $blockshtmlb,
      'fpcblocks' => $blockshtmlc,
      'fpdblocks' => $blockshtmld,
];

echo $OUTPUT->render_from_template('theme_abc/columns2', $templatecontext);
//columns2 template will be used from all of the templates for dashboard and the structure will be defined in it.
Open templates/columns2.mustache and add the following html in file after the header.
{{#hasfpblockregion}}
	<div class="fp-blocks">
		<div class="container-fluid">
	    	<div class="row">
			<div class="col-md-3">
		        	<section data-region="blocks-fpa" class="hidden-print">
		            	{{{ fpablocks }}}   	 //defined in columns2.php
		        	</section>
			</div>
			<div class="col-md-3">
		        	<section data-region="blocks-fpb" class="hidden-print">
		            	{{{ fpbblocks }}}
		        	</section>
			</div>
			<div class="col-md-3">
		        	<section data-region="blocks-fpc" class="hidden-print">
		            	{{{ fpcblocks }}}
		        	</section>
			</div>
			<div class="col-md-3">
		        	<section data-region="blocks-fpd" class="hidden-print">
		            	{{{ fpdblocks }}}
		        	</section>
			</div>
	    	</div>

		</div>
	</div>
{{/hasfpblockregion}}
Save the changes.
Now moodle dashnboard will be divided in 4 parts and the user can drag and drop the blocks in-between them.
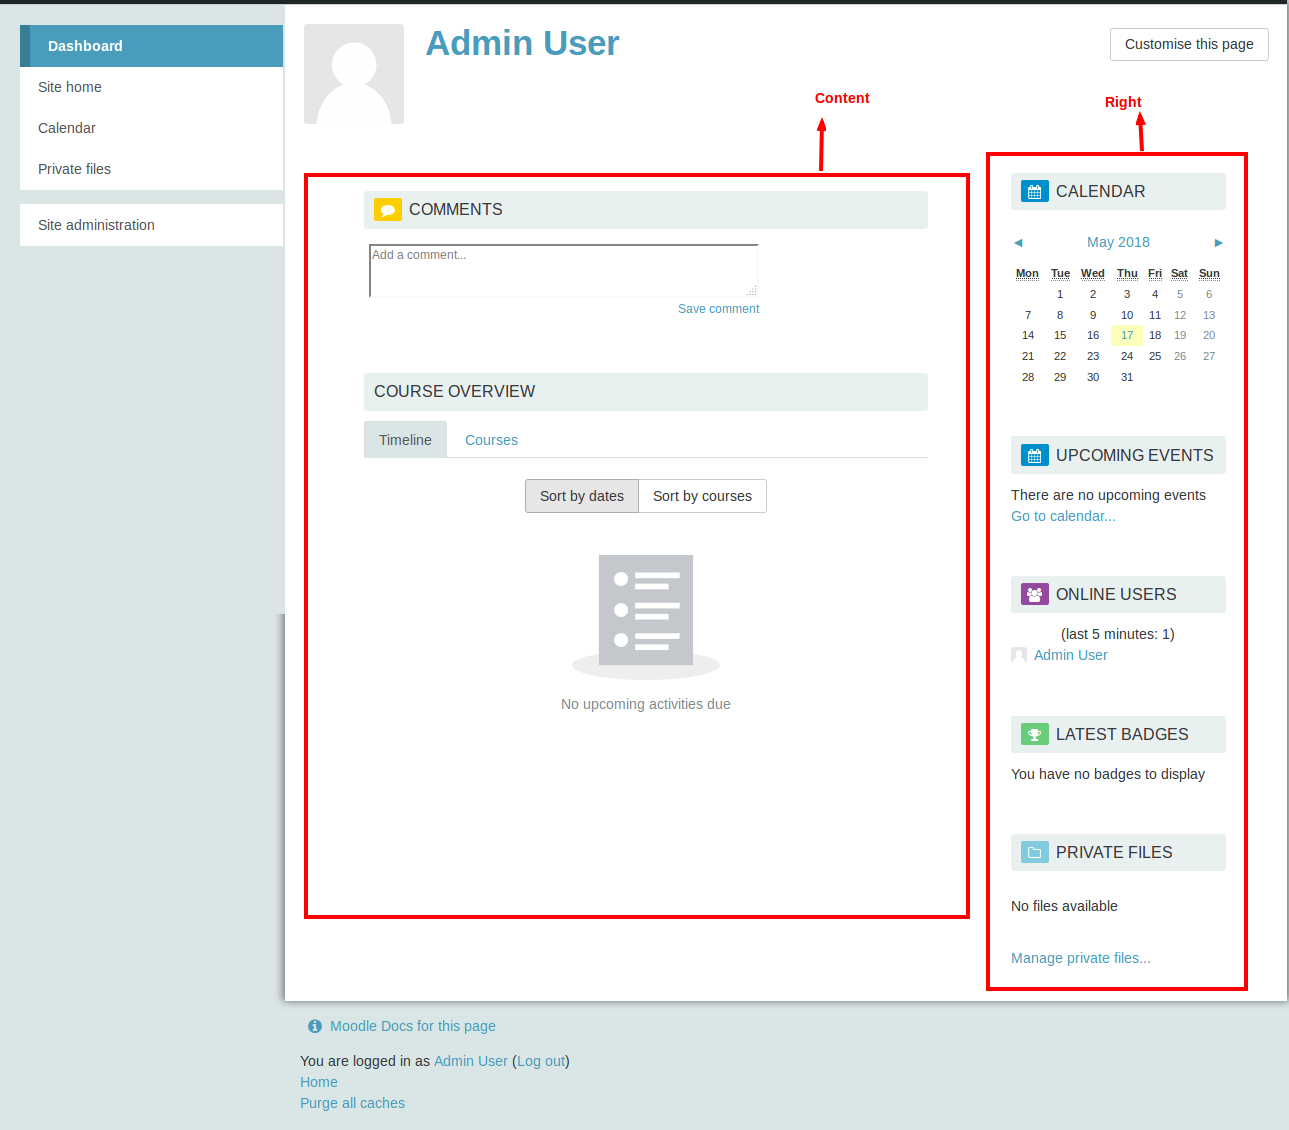
Before
After

As you can see in the before screenshot there are only two regions : Content and right.
In the after screenshot there are 5 regions: col A, col B, col C, col D and Content.
You can further divide the dashboard in any number of regions according to the needs.