Experience Builder is a visual editor in Salesforce that helps you design pages for your Experience Cloud sites. You can drag and drop standard and custom components, change layouts, and adjust branding — all from your browser.
Enable Experience Cloud
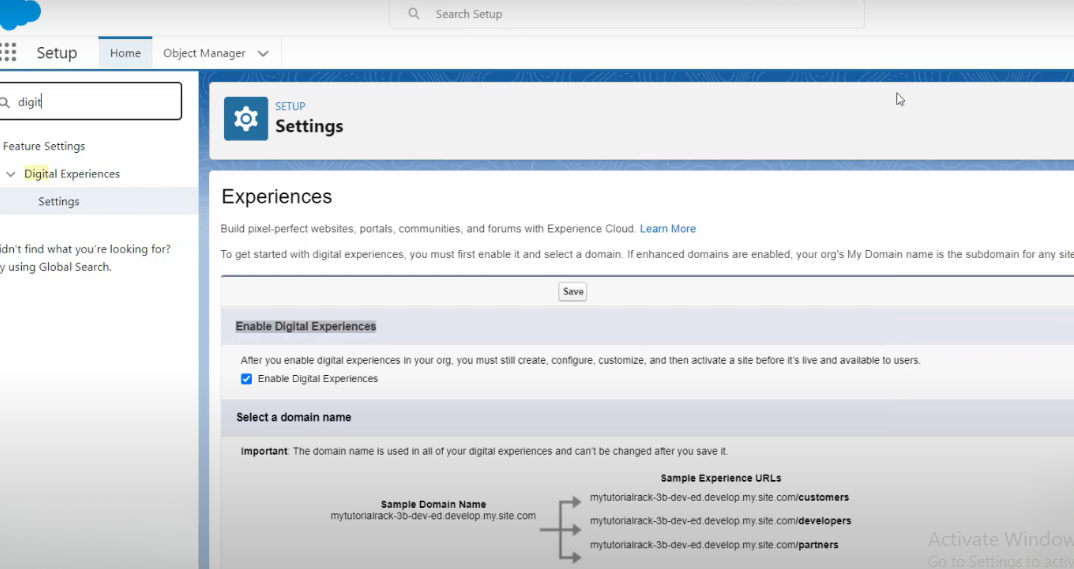
Before creating a site, you need to activate the Experience Cloud feature:
- 1. Go to Setup
- 2. In the Quick Find box, type “Digital Experiences”
- 3. Click Settings
- 4. Check Enable Digital Experiences
- 5. Click Save
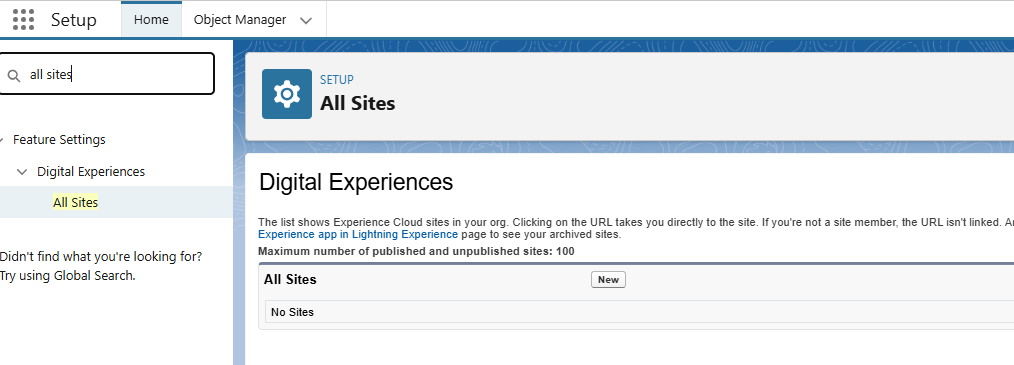
Create Your Site
Now that Experience Cloud is turned on, create your first site:
- 1. Go to Setup → All Sites
- 2. Click New
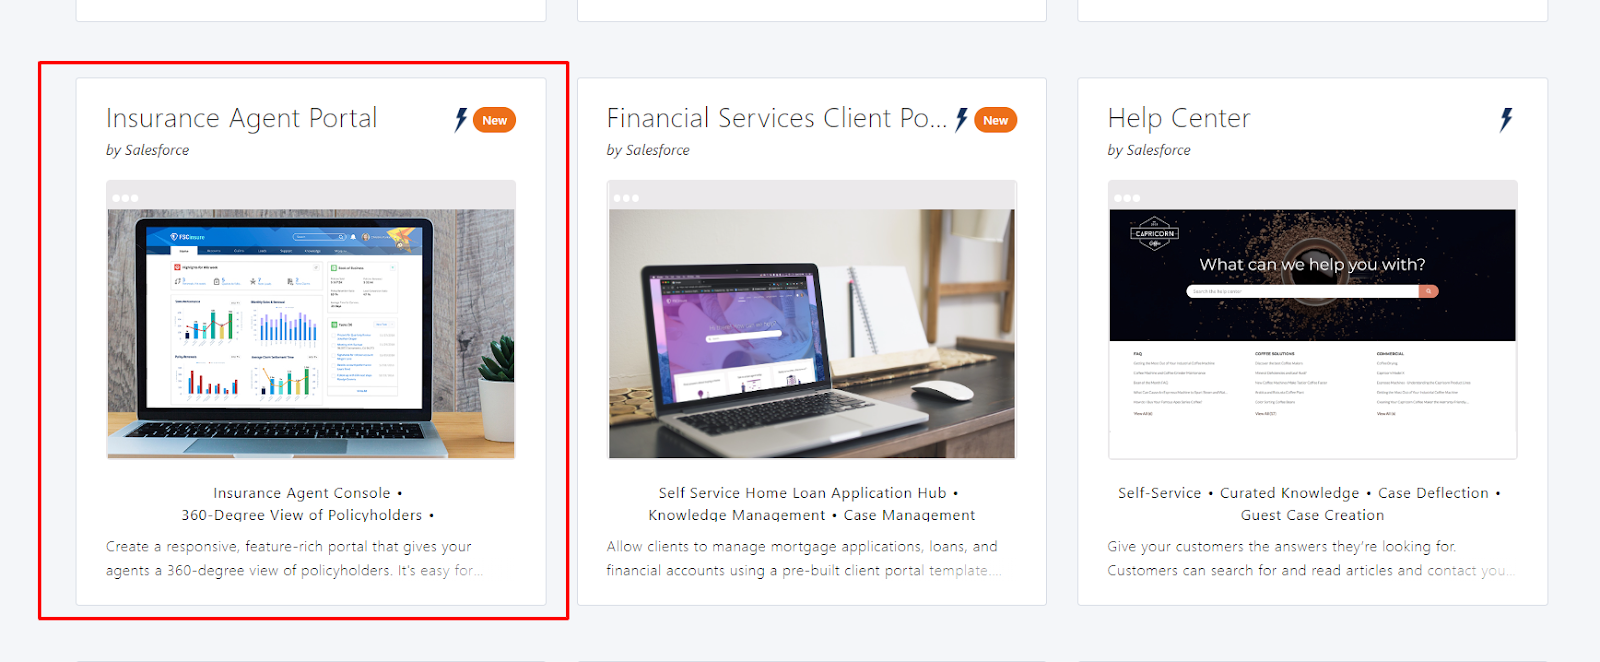
- 3. Choose a template (e.g., Customer Service, Partner Central)
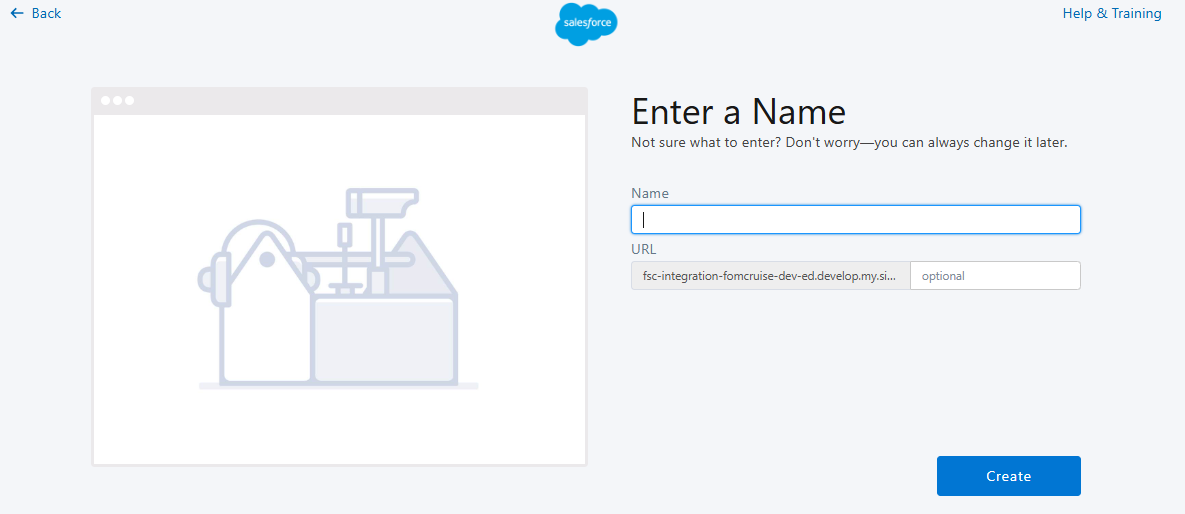
- 4. Enter a name and URL for the site
- 5. Click Create.
Open Experience Builder
After your site is created:
- 1. Find your site under All Sites
- 2. Click the Builder link
- 3. The Experience Builder editor will open
From here, you can drag components onto the page and change the layout and style.
Create a Lightning Web Component (LWC)
Let’s create a simple LWC that will display a greeting message on the site.
-
- MyLightningWebComponent.html

-
- MyLightningWebComponent.js

-
- MyLightningWebComponent.js-meta.xml
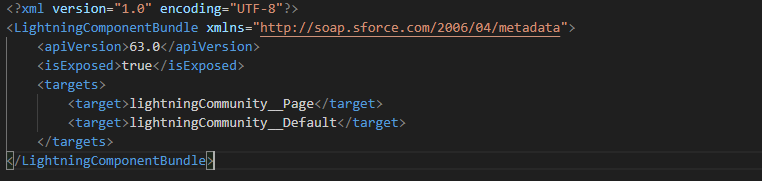
Why is this important?
- isExposed lets Salesforce know the component can be used in page builders
- lightningCommunity__Page allows it to show up in Experience Builder
Deploy the LWC to Your Org
Using Salesforce CLI or VS Code, push the LWC to your org:
Make sure you’re connected to your sandbox or scratch org before pushing.
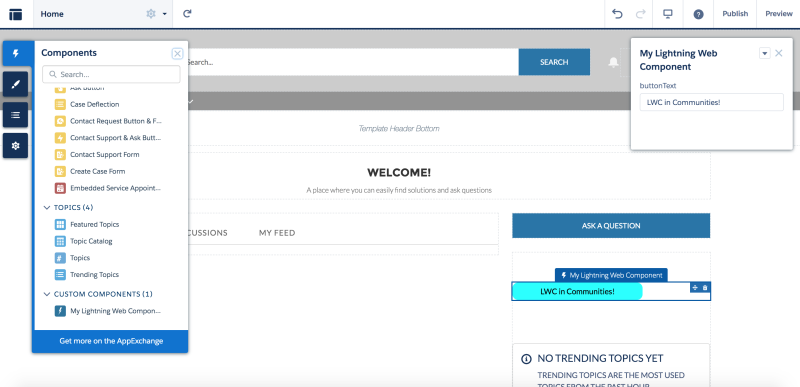
Add the LWC to Your Site
- 1. Go back to Experience Builder
- 2. On the left side, find the Components panel
- 3. Under Custom Components, find your LWC (e.g., MyLightningWebComponent)
- 4. Drag the component onto your page
- 5. Click Publish to make it live.