After assuming that the user already has the VS Code and all the necessary packages like Salesforce CLI installed and has created a scratch Org into the system, let’s begin the process to create and add a lightning web component into our org’s Homepage and App.
To create a lightning component:
- Step 1: Open the VS Code Terminal (Make sure the directory is set to C:\Users\”Your PC Username”\”Your Scratch Org Name”)
- Step 2: Then Enter this command:
“sfdx force:lightning:component:create -n FLC -d force-app/main/default/lwc/ –type lwc”
Where- sfdx force:lightning:component:create is the command to create a new component
- -n is used to give the name to the component and FLC is the name of the component
- -d is used to specify the directory and force-app/main/default/lwc/ is the directory where the component will be created.
- –type is used to specify the type of the component, since the default type is aura we need to specify that this component is Lightning Web Component (LWC).
- Step 3: Push the Component to the Org using the below command:
“sfdx force:source:push”
Note: If you have the salesforce extension installed with the VS Code, you can press Ctrl + Shift + P and open the command palette and then search SFDX: Create Lightning Web Component then provide the name and directory for the component and the component will be created and to push the component simply type SFDX: Push Source to default Scratch Org and hit Enter and the component will be pushed.
Your Lightning Web Component will be successfully created!
After the successful creation of the Lightning Web Component, let’s head to adding a little content and displaying this Component in our Org’s App and Homepage.
To add the content to your component:
First of all open the folder of the component you created, you can probably find it inside your Scratch Org folder in force-app\main\default\lwc\”Name of the component”
Inside this folder you’ll be able to see 3 files of different formats: .html , .js and .js-meta.xml
Step 1 : Head to the HTML file, you’ll be able to see the .
Inside this template tag, simply add the content you want using the HTML tags.
For example, let’s add a heading using the Heading tag (Refer to the image below).

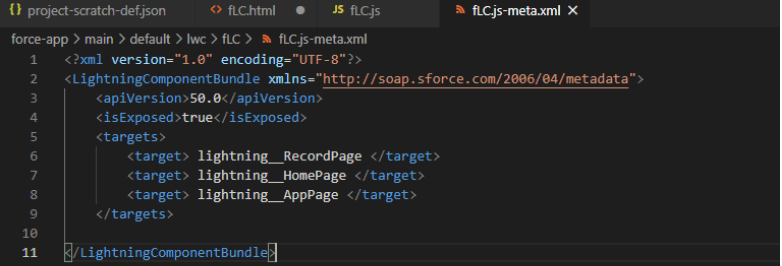
Step 2: Now go to the XML file, inside the
Step 3 : Now after the isExposed tag, add a new tag
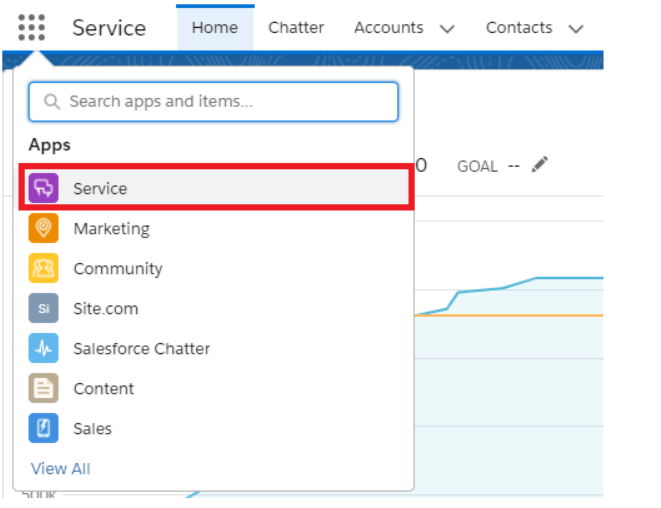
Step 4: Head to the Lightning Home Page, from there, open the Service App.
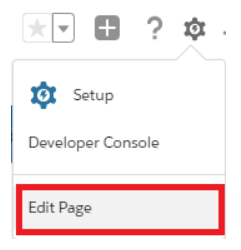
Step 5: On the upper right corner, you’ll be able to see the Setting icon, click on it, and then click in Edit Page.
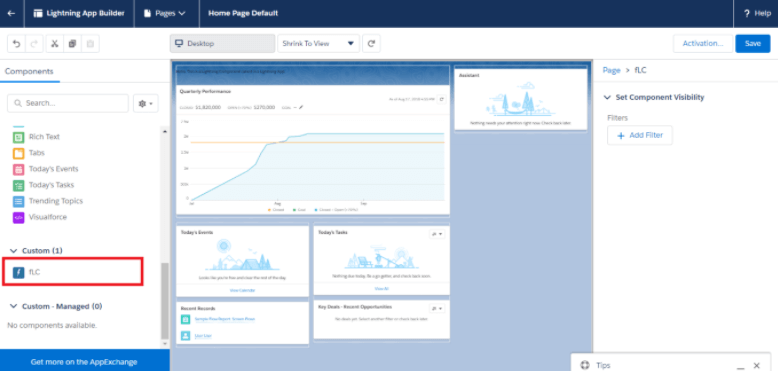
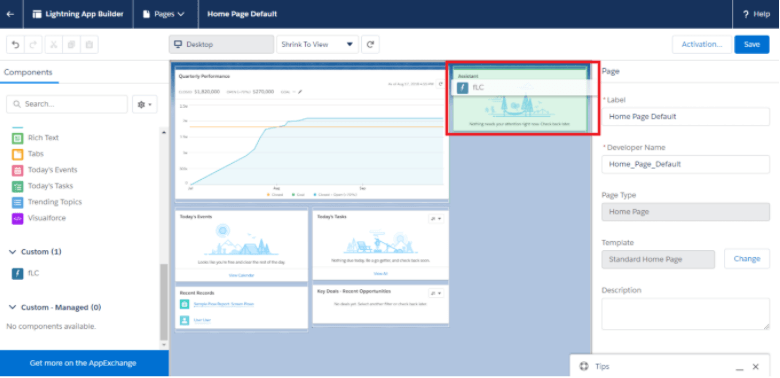
Step 6: When the Lightning App Builder appears, you’ll be able to see your Lightning Web Component. Drag it to any section you want your component to appear. Here we are going to drag it to just above the Assistant section.
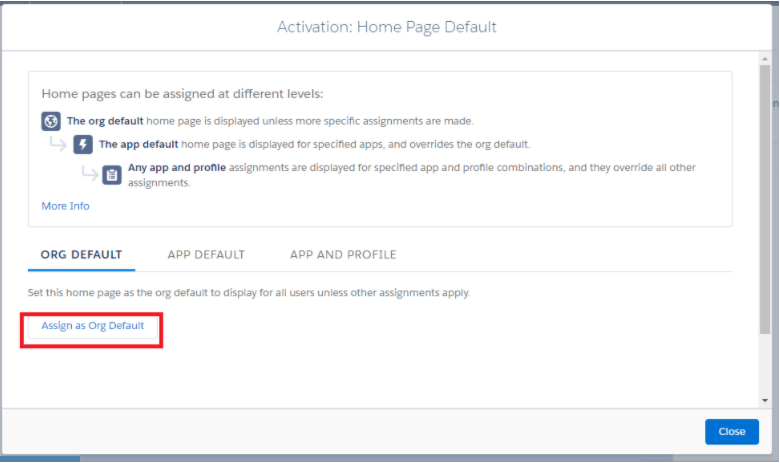
Step 7: Click Save and Click on Activation. Button, a dialog box will appear. On the dialog box, click on the Assign as Org Default button and Clock Save again.
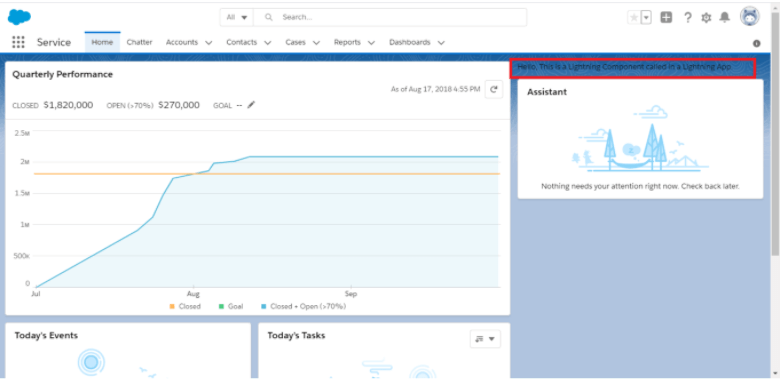
Now you can head back to the home page and you’ll be able to see the content that you put inside the component will be displayed just above the Assistant Section where you put it.
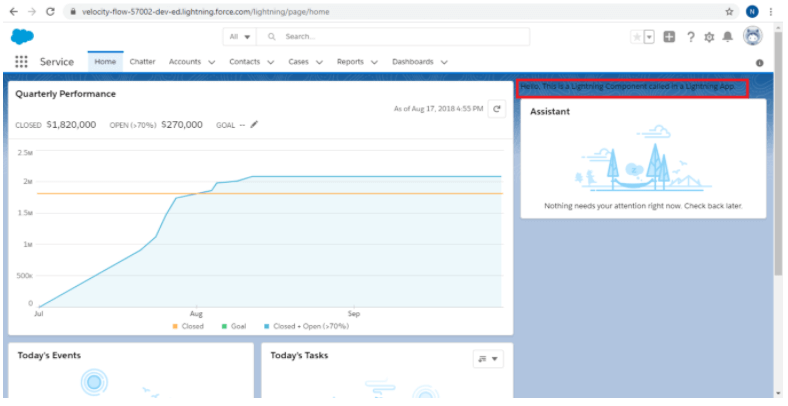
You can go on the Service or any other App and you’ll be able to see that component appearing in the same position where you put it.