In the world of data analysis, Power BI stands out as a dynamic tool that transforms raw data into meaningful insights. However, the real magic happens when you integrate external data sources using Application Programming Interfaces (APIs).
Why Use APIs in Power BI?
Imagine you’re creating a report in Power BI, and you want to include real-time weather information, stock prices, or social media data. APIs come to the rescue by providing a way for it to connect to these external services and bring in the information you need.
Step-by-Step Guide: Using APIs in Power BI
-
- Identify Your Data Source: Choose the external service or platform you want to pull data from. This could be anything from a weather service to a social media platform or a financial market data provider.
- Understand the API Documentation: Each API has its own set of rules, and the documentation is your guide. It’s like a user manual that tells you how to ask for data and what kind of responses to expect.
- Get an API Key (if required): Some APIs require authentication to ensure that only authorized users access their data. You might need to sign up on the API provider’s website to get an API key – a secret code that acts as your access pass.
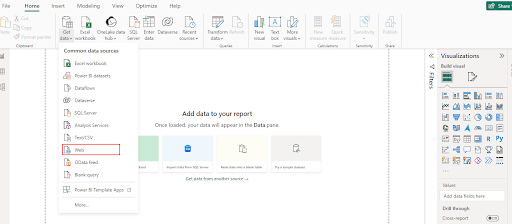
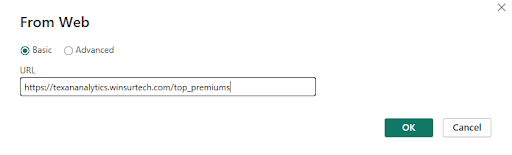
- Use Power BI’s Power Query Editor: Power BI has a friendly tool called Power Query Editor. It’s where the magic happens. Open it, select “Get Data,” and choose “Web” to enter the API endpoint URL. Think of the endpoint as the specific location where the data is stored.
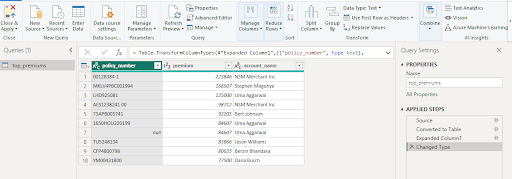
- Navigate the Data: Once you’ve connected to the API, Power Query Editor lets you navigate and choose the data you want.
- Transform and Clean the Data: Data often needs a little makeover. With Power Query Editor, you can clean up and reshape the data, ensuring it fits seamlessly into your existing dataset.
- Load the Data into Power BI: Once your data is satisfactory, import it into Power BI. It is now included in your report and can be viewed and examined with the rest of your data.