Steps for setup of custom Domain DNS settings in AWS with office 365 including skype for business
Below are the steps involved to get these settings done.
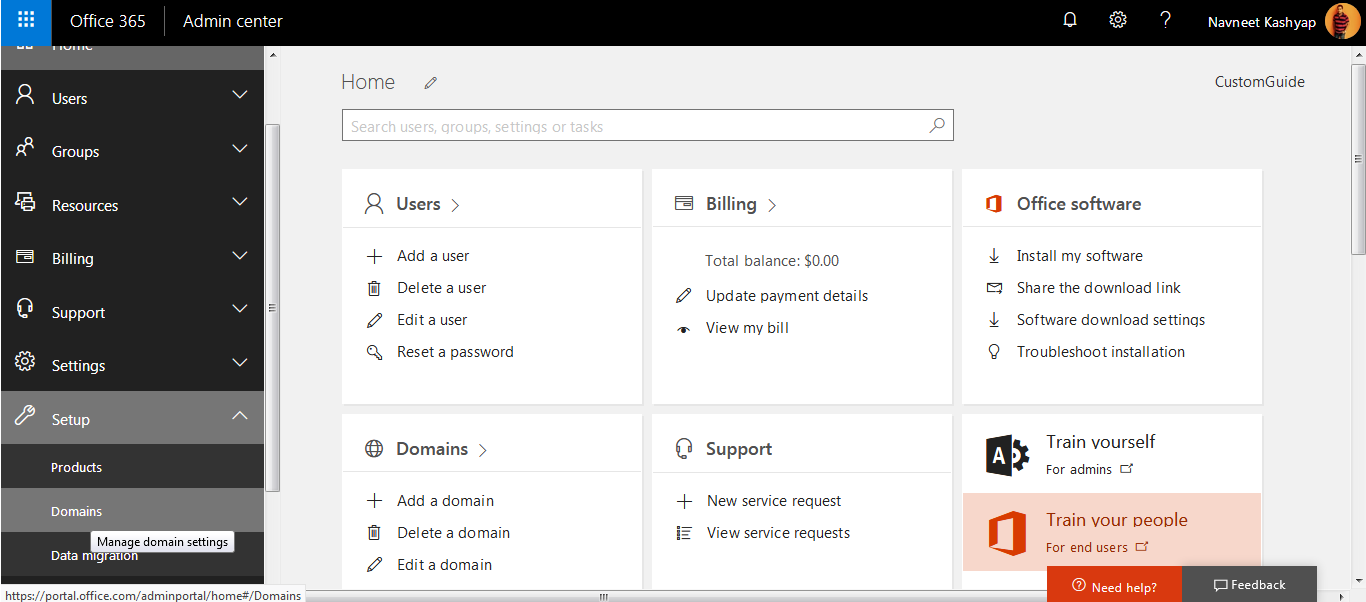
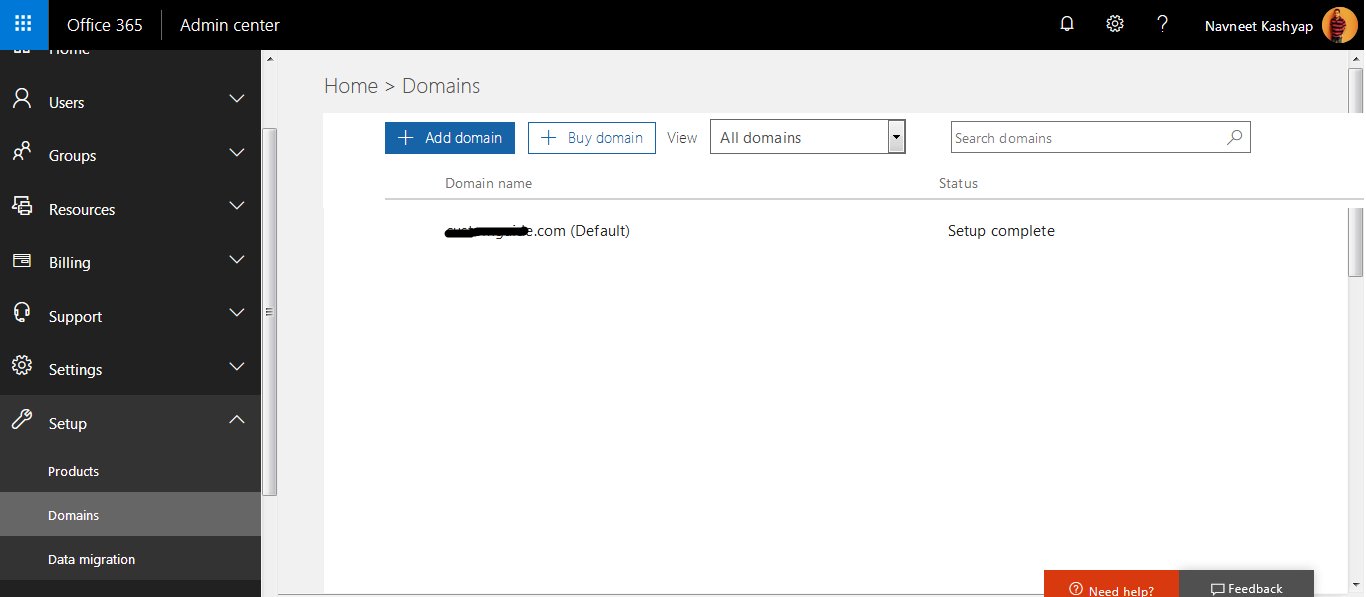
Step.1 Open office 365 admin console and click Domains under menu “Setup”.
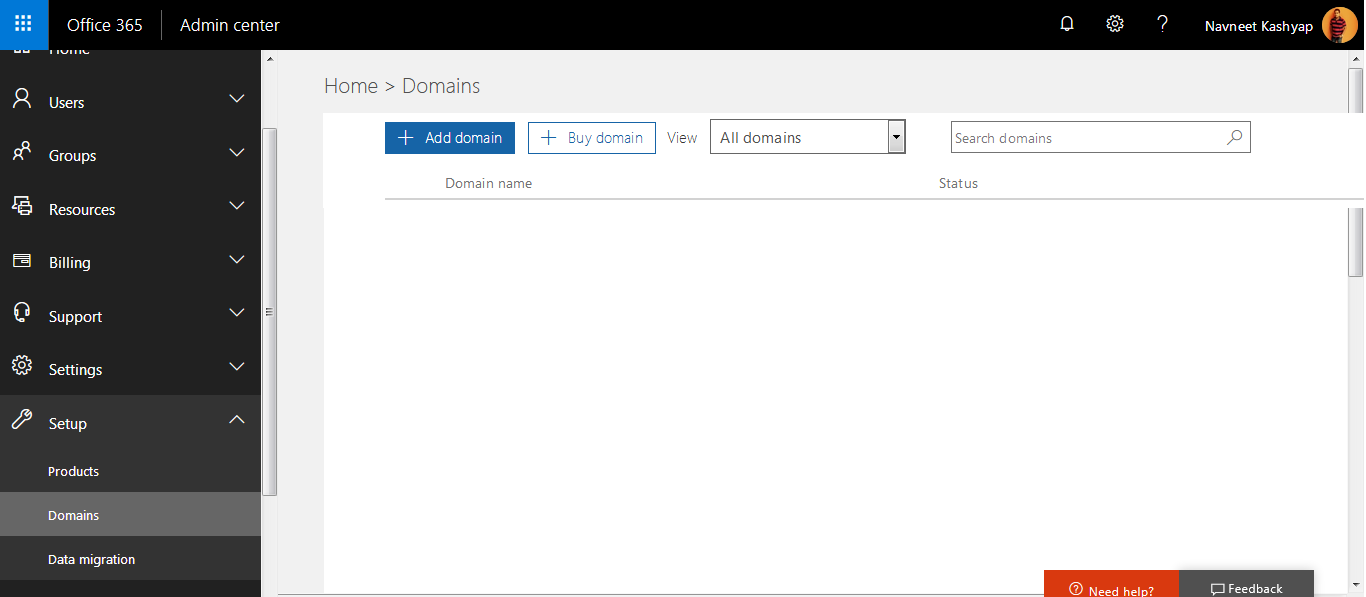
Step.2 Now Click +Add domain and enter the own domain name.
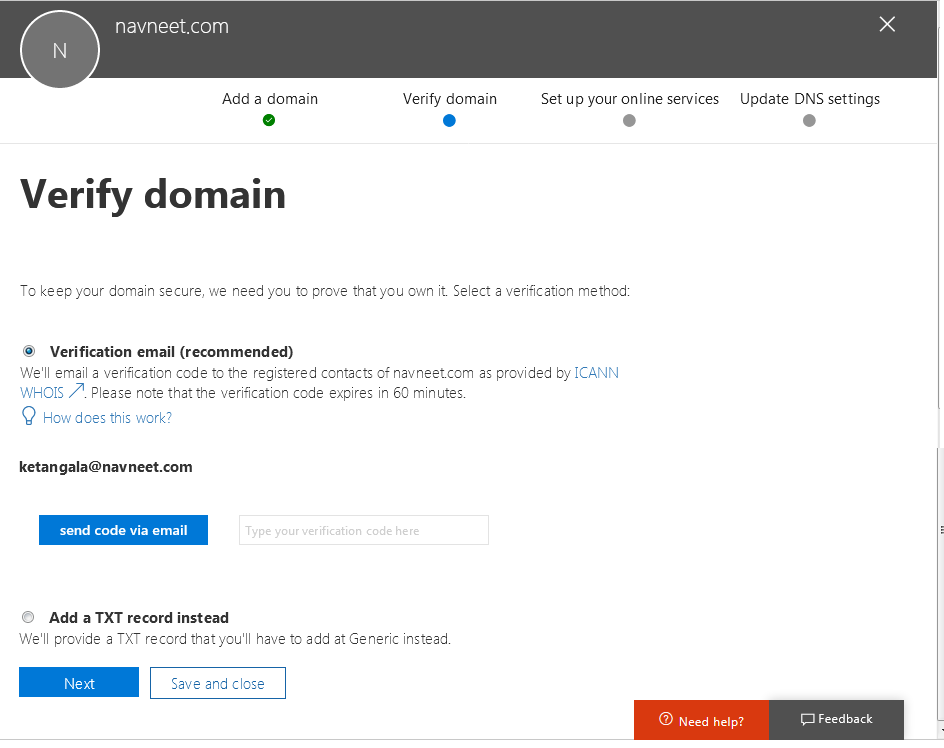
Step.3 Now you have to verify the domain name that you own this in order to protect it, so that someone else cannot use it without permission.
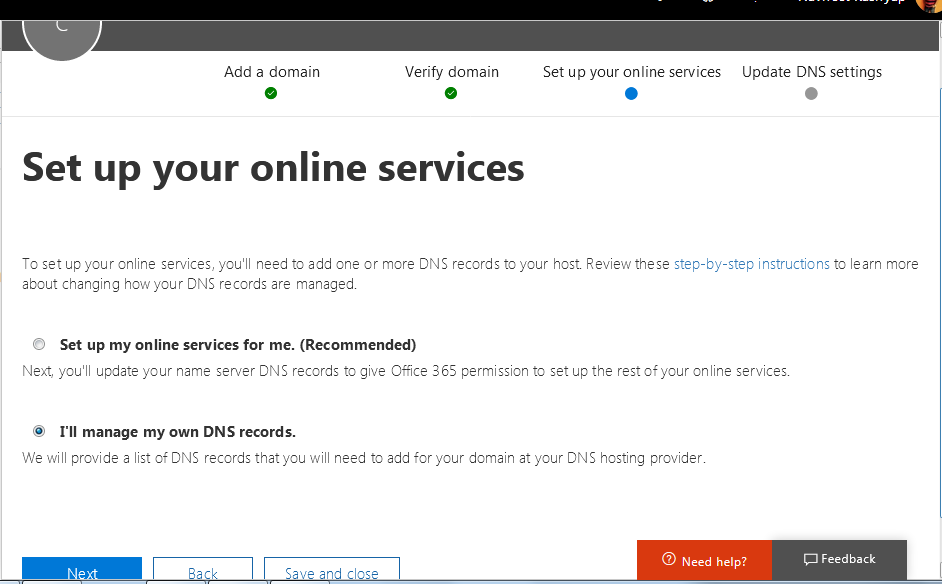
Step.4 Select the option “I will manage my own DNS records.”
Step.5 Updation process will take some time.
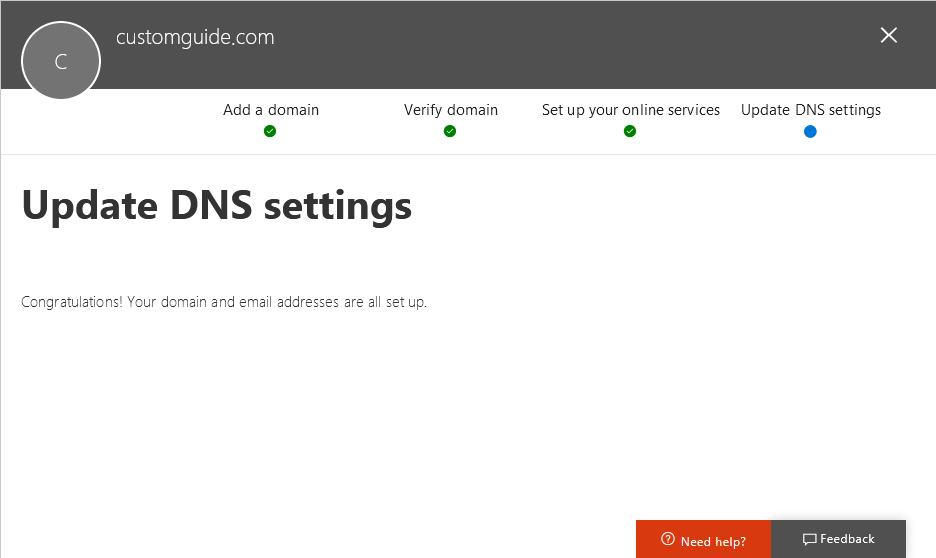
Step.6 Now it will show you the domain in the list.
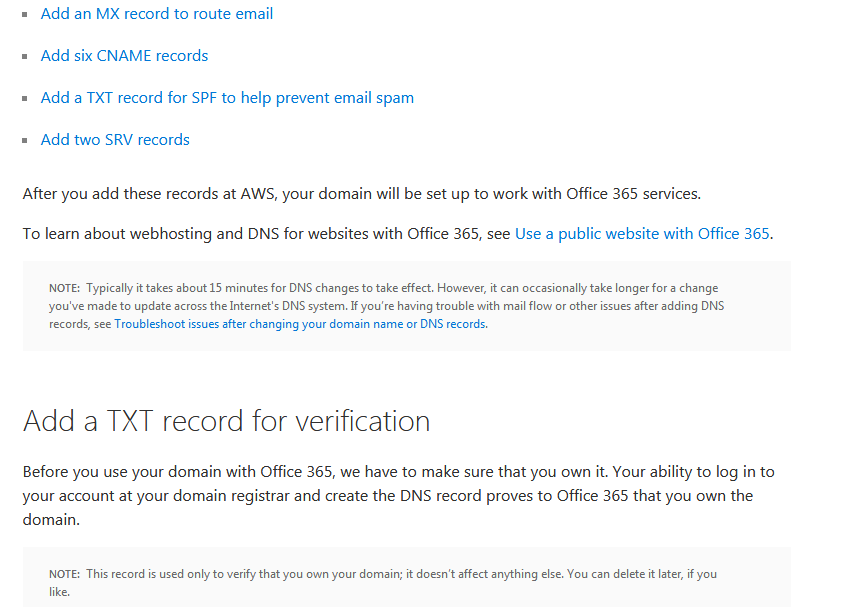
Step.7 Now, we have to set the domain for TXT records. Below example will show you how to set it on AWS environment.
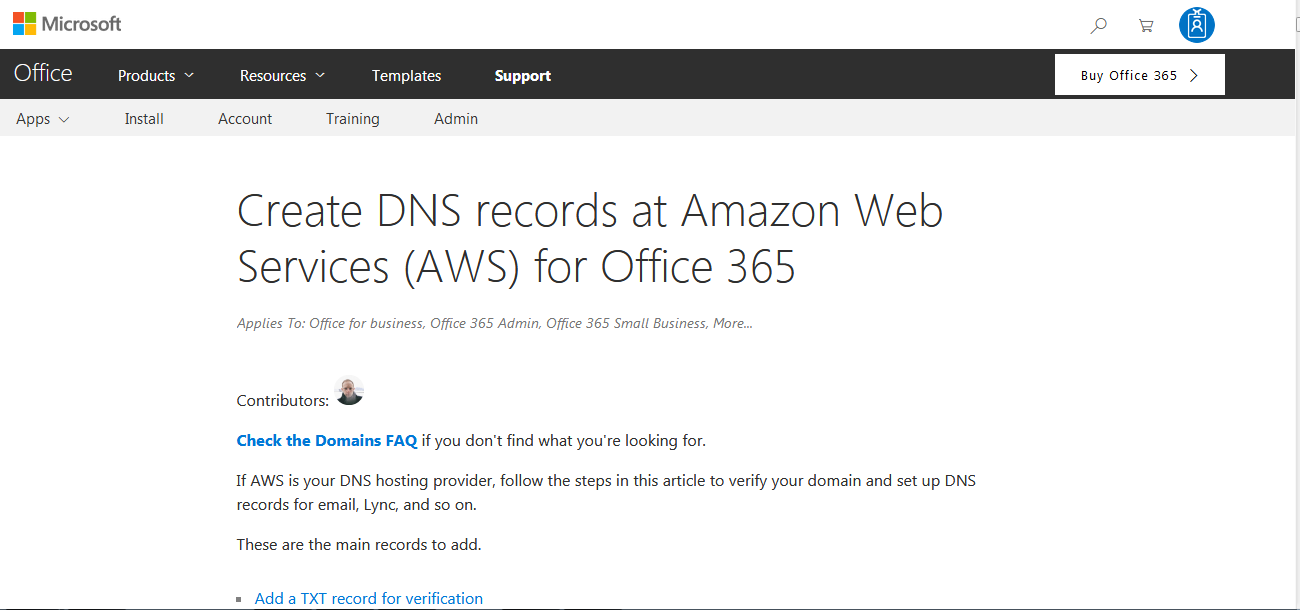
Step.8 Step by step you have to set records, as mentioned below.
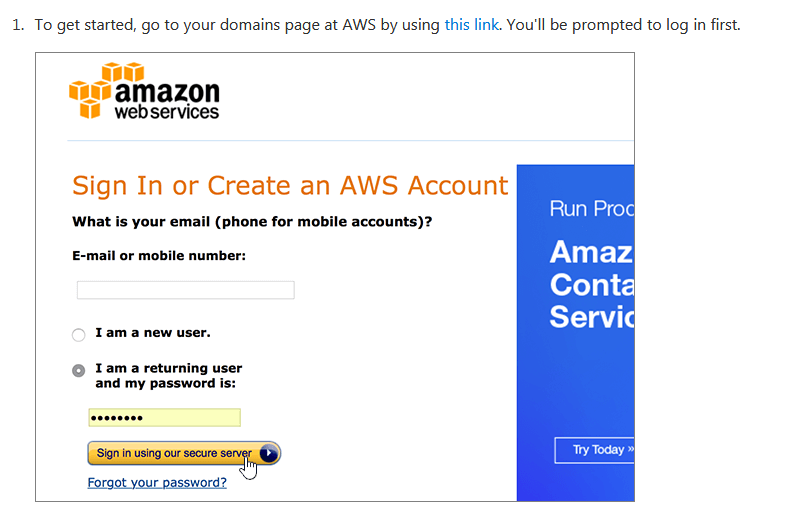
Step.9 Login on to AWS console
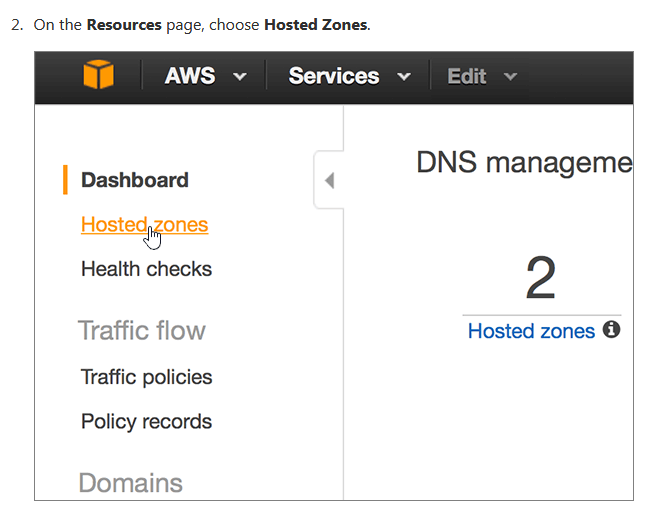
Step.10 Go to Route 53 option and select Hosted zones
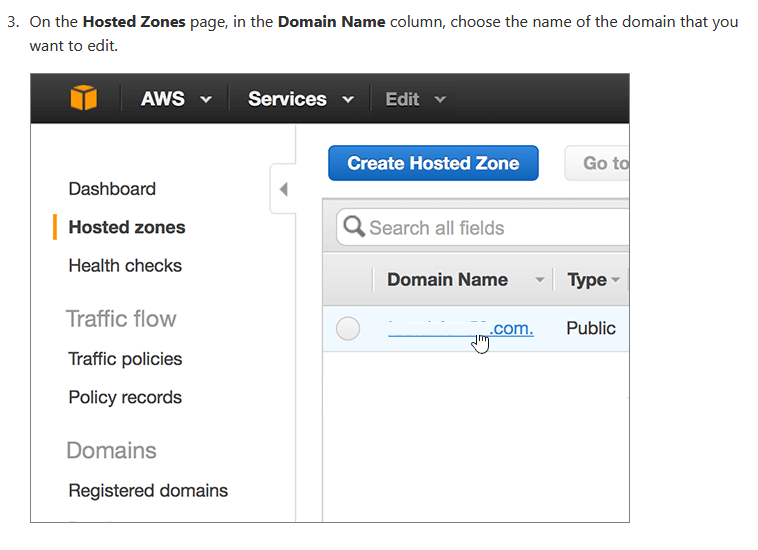
Step.11 Click the own domain to enter into it.
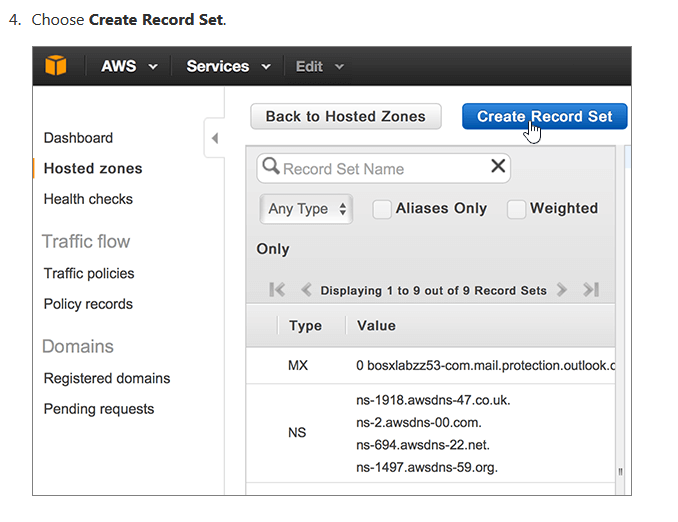
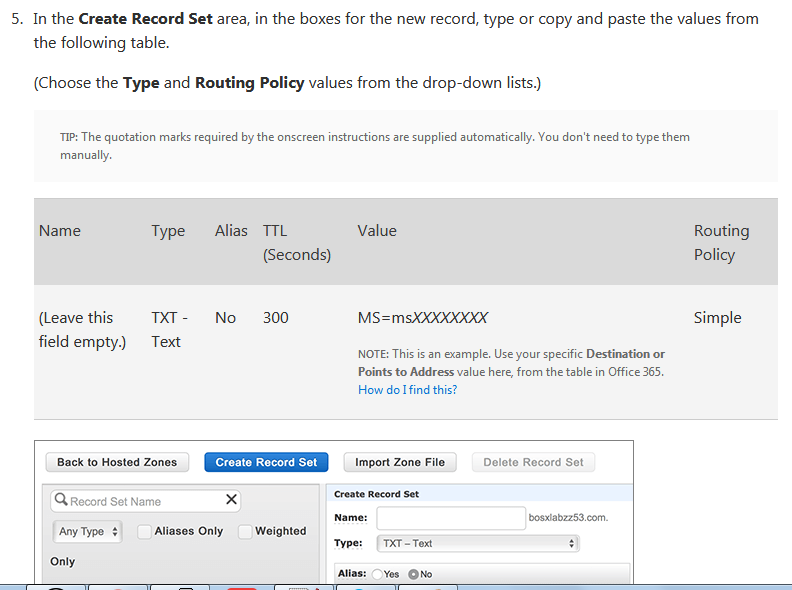
Step.12 Now create a new record set
Step.13 Now you have to put the value in newly created record set as shown in example below
Step.14 Now the process of domain verification is completed here.
Step.15 Finally, you have to set SRV record in DNS settings, so that skype for business will work.
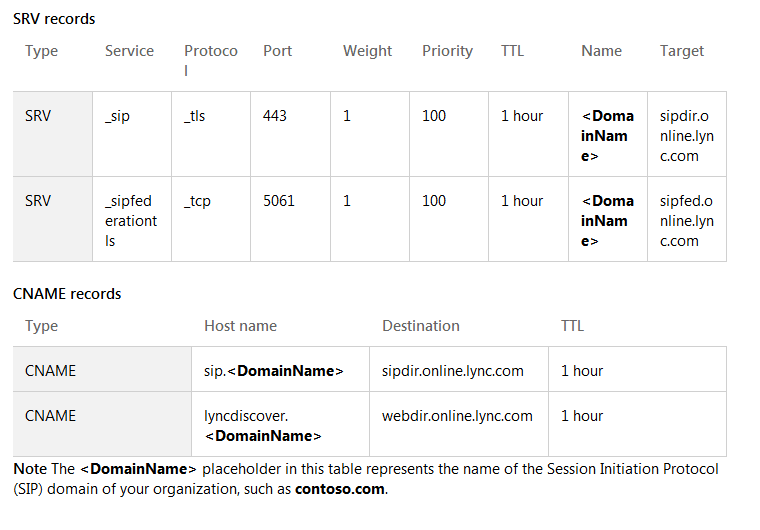
Note : Replace the