How to move whole wordpress site from HTTP to HTTPS in simple steps using Really Simple SSL plugin with AWS Cloudfront.
Solution.
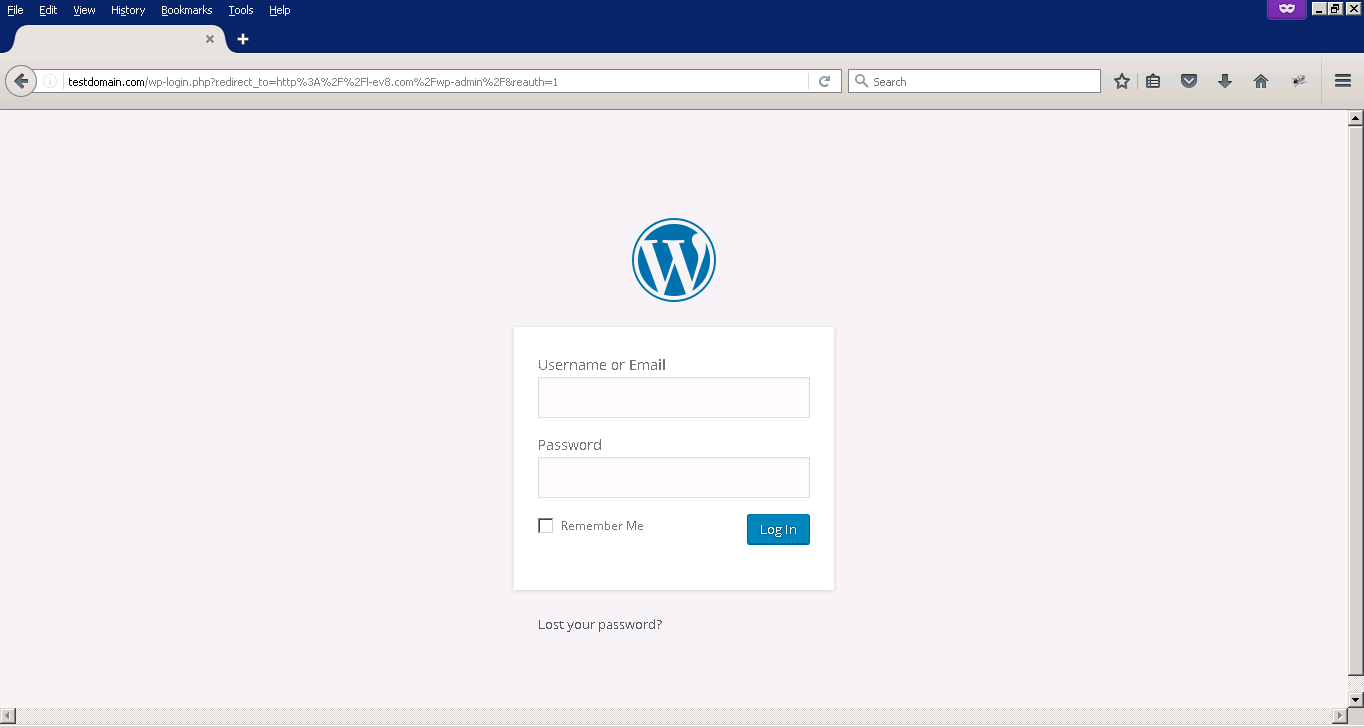
Step-1. Login to wordpress
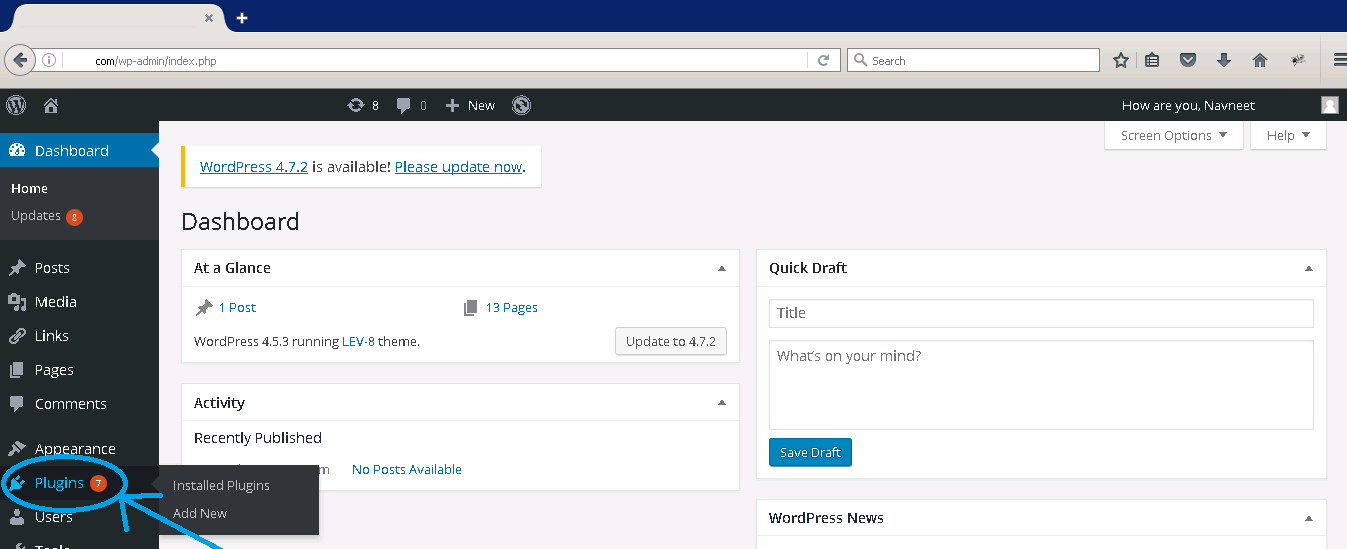
Step.2 Click Plugins
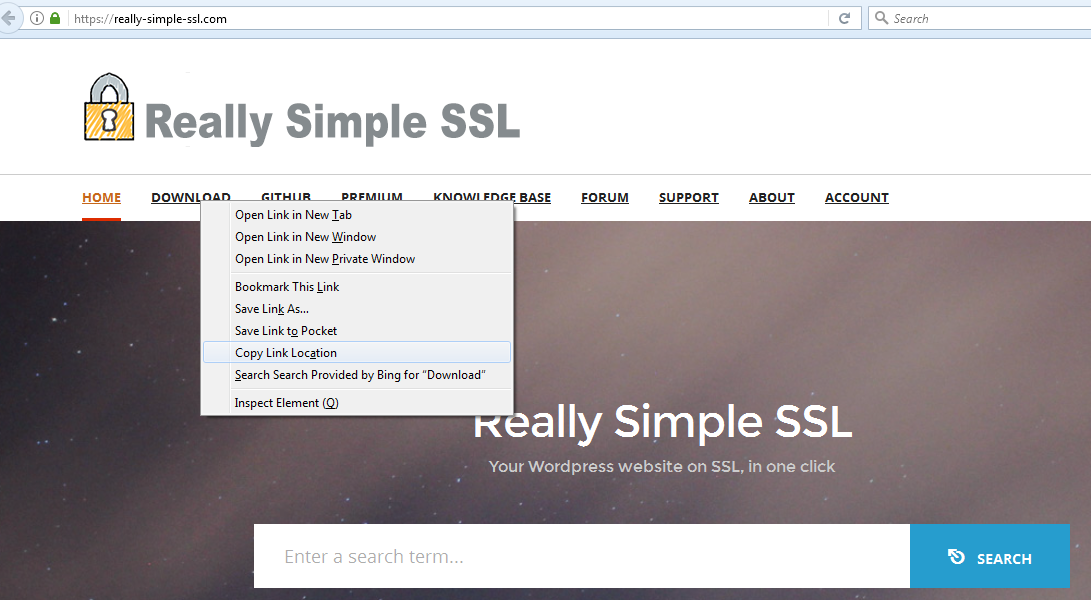
Step-3. Download Really Simple SSL plugin on your desktop, as shown below.
Step-4. Now go to wordpress site admin panel and click Add New.

Step-5. And Click Upload Plugin

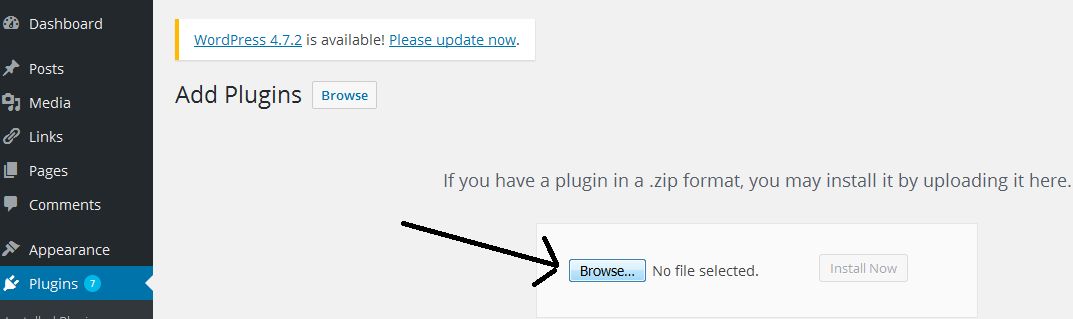
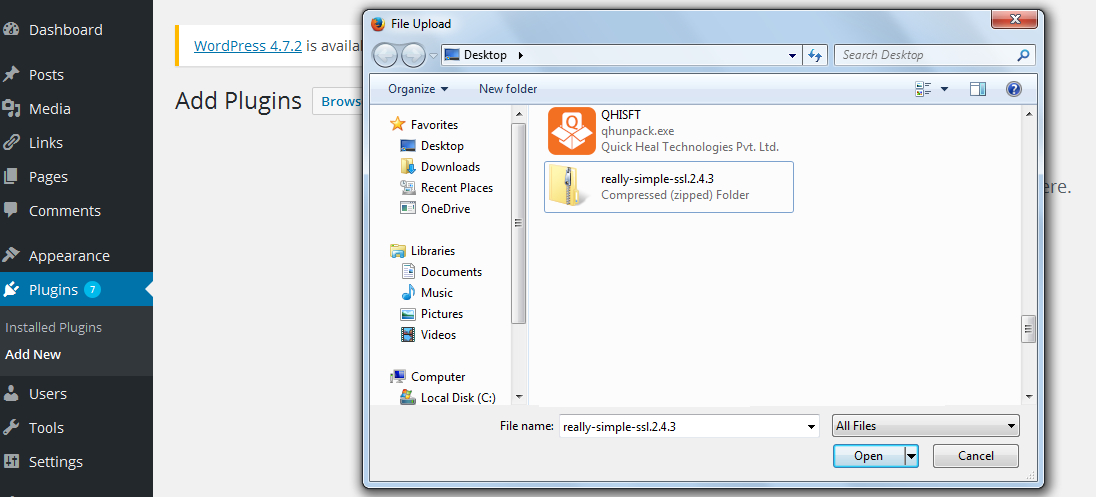
Step-6. Now click on Browse button, locate the location where you download the plugin.
Step-7. Select the plugin and open.
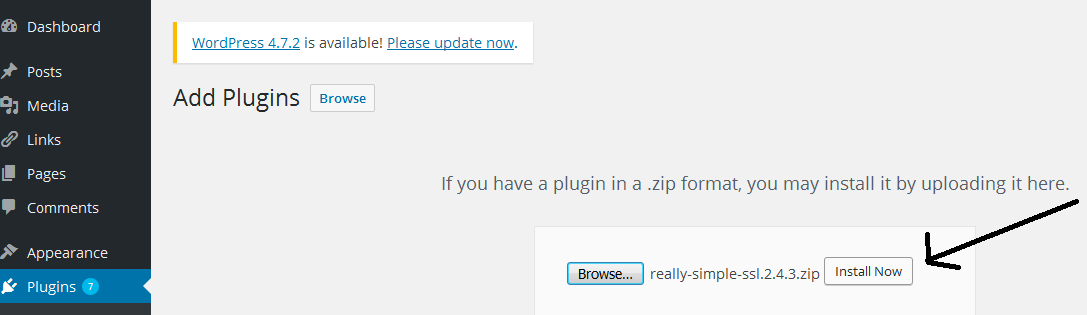
Step-8. Now you can click on Install Now
Step-9. If you see the an error message as below then, you have to modify the permission or ownership on your web root directory.
Run the following command in your server terminal (assuming apache is the linux user on whose behalf WordPress is running).
$ chown -R apache:apache /var/www/html/wordpress/
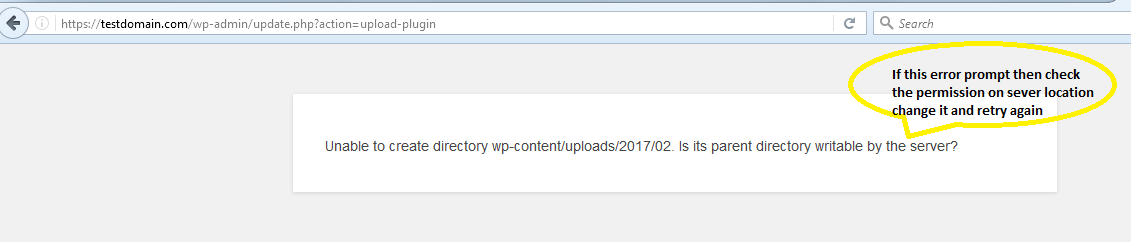
Step-10. Repeat the step 4 to 9, if you see the above error message.
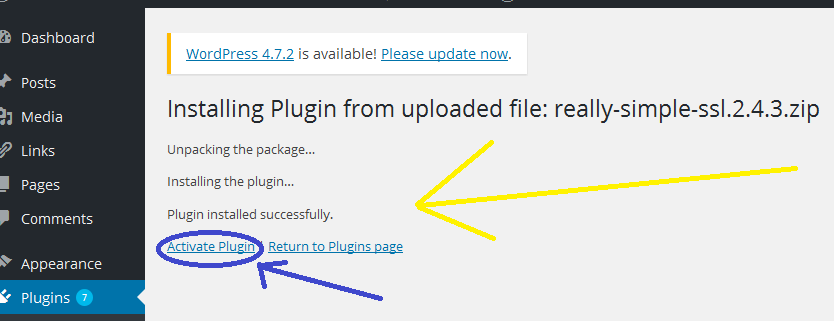
Step-11. Finally you will see the message “Plugin installed successfully”
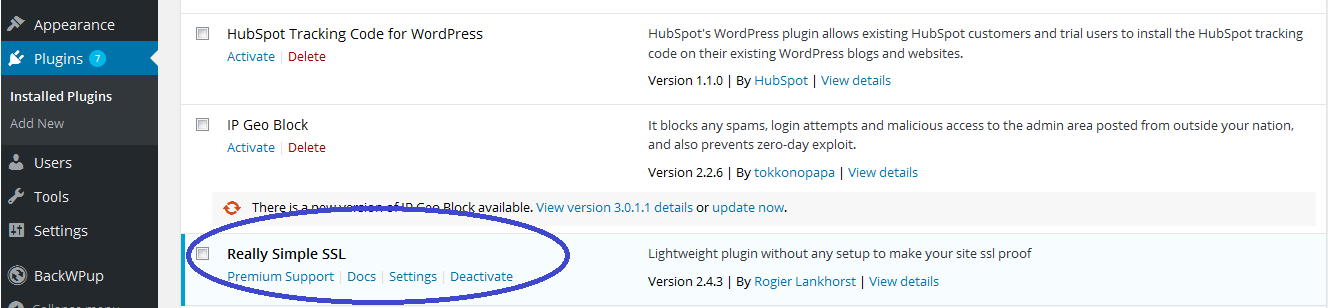
Now, click Activate Plugin.
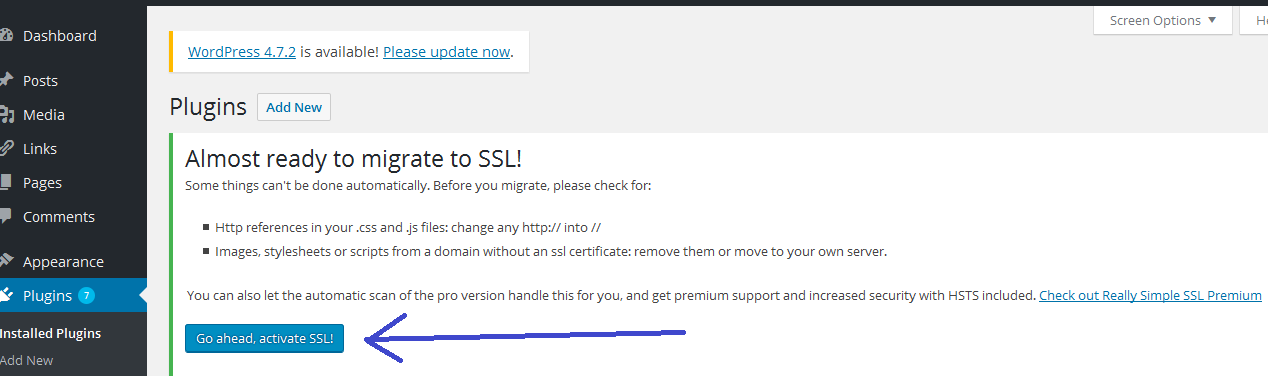
Step-12. Now, it’s time to Activate SSL, so click Go ahead, activate SSL!
Step-13. Click View settings page to get the new settings that you have to place in your .htaccess file.
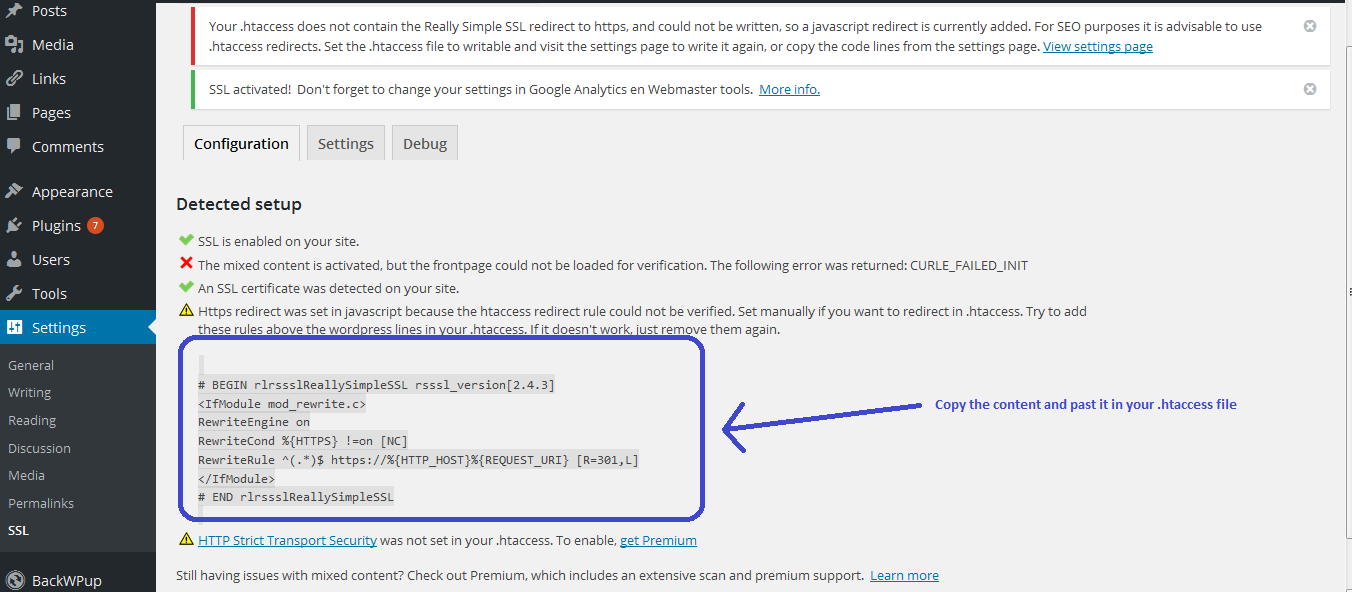
Step-14. Now, Edit /var/www/html/.htaccess
Add below directives, if it doesn’t work then remove this code
# BEGIN rlrssslReallySimpleSSL rsssl_version[2.4.3]
<IfModule mod_rewrite.c>
RewriteEngine on
RewriteCond %{HTTPS} !=on [NC]
RewriteRule ^(.*)$ https://%{HTTP_HOST}%{REQUEST_URI} [R=301,L]
</IfModule>
# END rlrssslReallySimpleSSL
Step-15. Edit /var/www/html/wordpress/wp-config.php
And add below directives
//Begin Really Simple SSL JetPack fix
define( "JETPACK_SIGNATURE__HTTPS_PORT", 80 );
//END Really Simple SSL

//Begin Really Simple SSL Server variable fix
$_SERVER["HTTPS"] = "on";
//END Really Simple SSL
Step-16. And uncomment the below directive in /var/www/html/wordpress/wp-config.php
define( 'WP_DEBUG_DISPLAY', false );
Step-17. Your SSL plugin is now installed and you site is now accessible using https by default.
Step-18. If your machine is on AWS (amazon cloud), then you can use AWS-cloudfront and enjoy free CA-certs provided by Amazon.
Here I am providing the simple steps how to get it working for you on AWS.
Step.1 Open CloudFront service from AWS console panel.
Step.2 Click on Create distribution option.

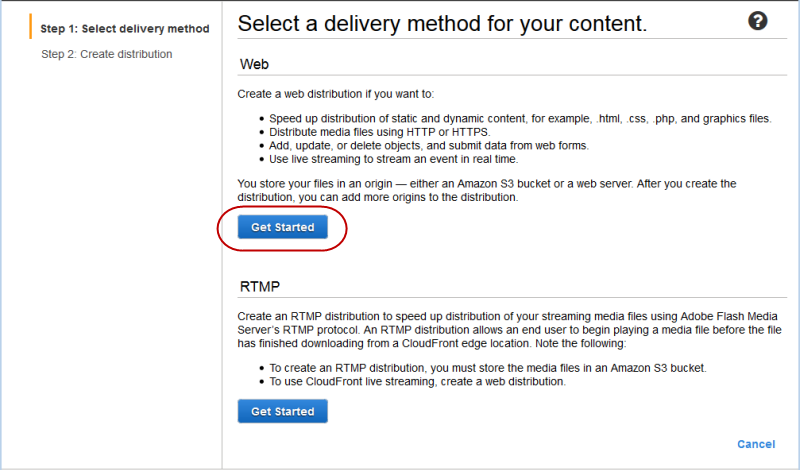
Step.3 Then from delivery method for your content click Get Started under web.
Step.4 Now put the public dns of ec2-server in the Origin Domain Name field.
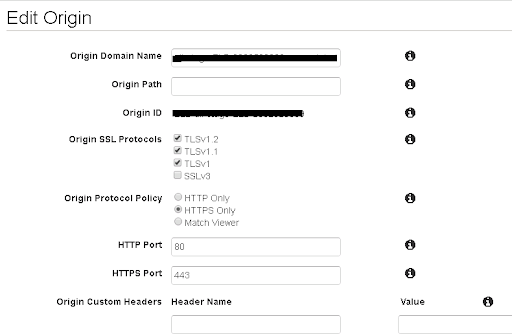
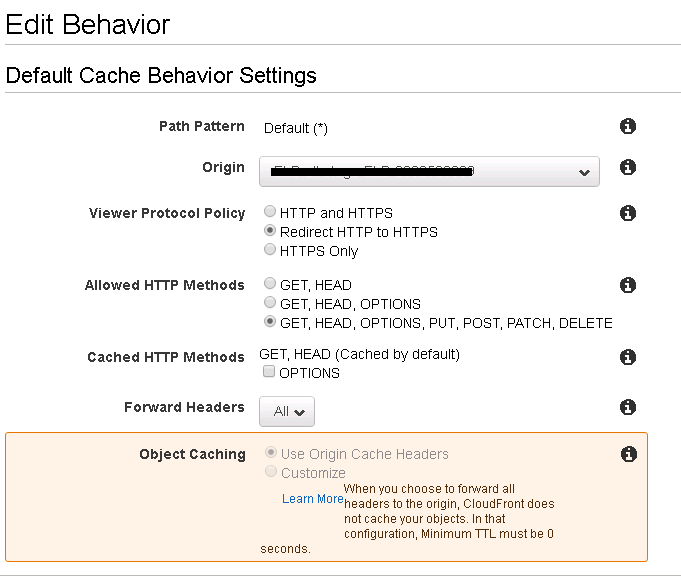
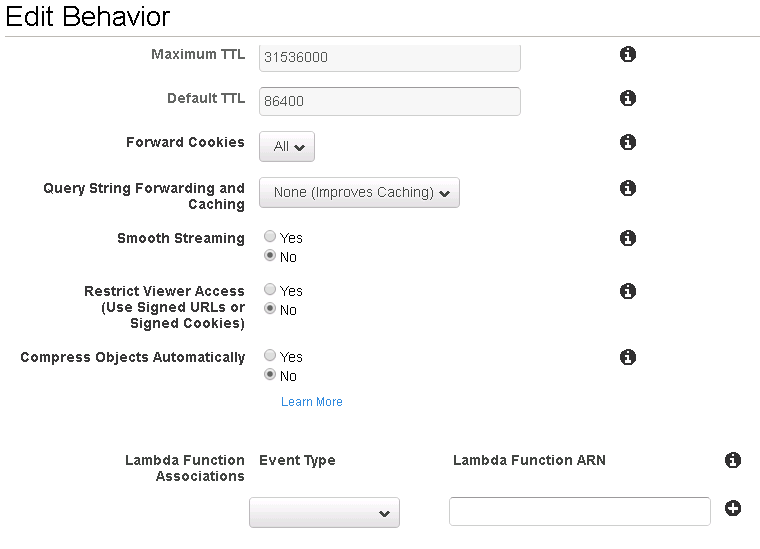
Step.5 Keep the same settings as mentioned below.
Step.6 Give the domain name that you are using for site. And choose custom SSL certificate and if it shows nothing and then request for one and get that authorized validation from your registered email ID for that Domain.
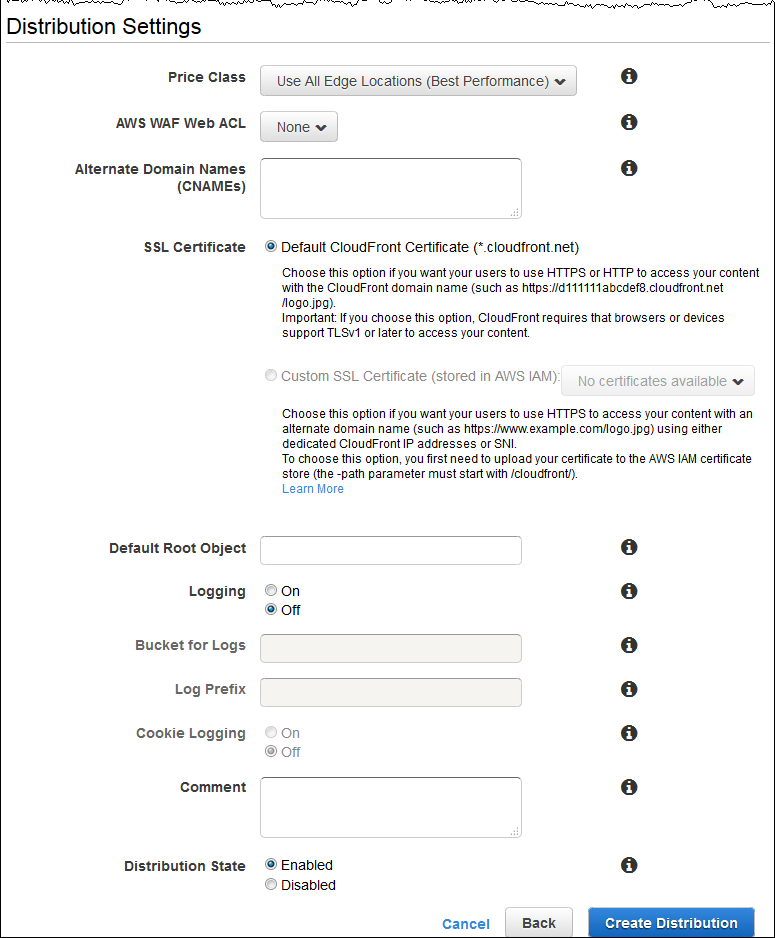
Step.7 Go with the new settings and hit Create Distribution button.
Now, you have to make changes in Route 53:-
Step.1 Open Route 53 from AWS console
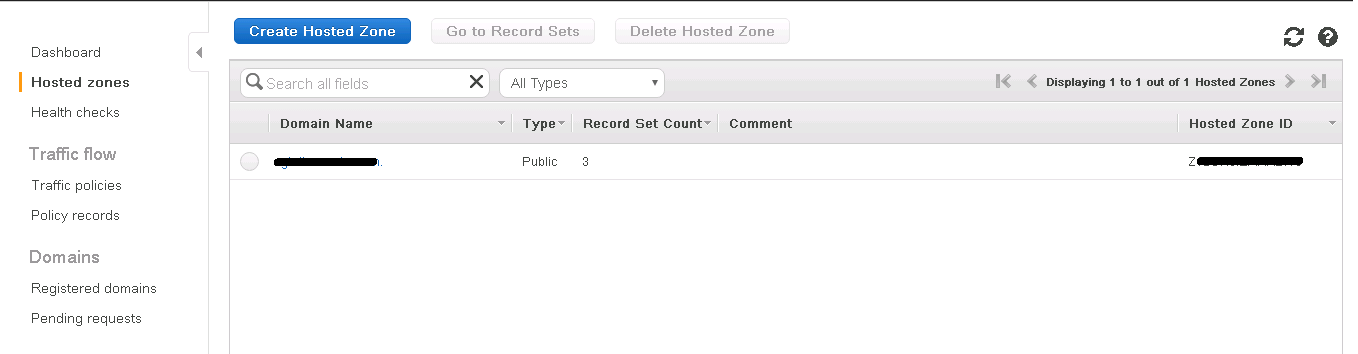
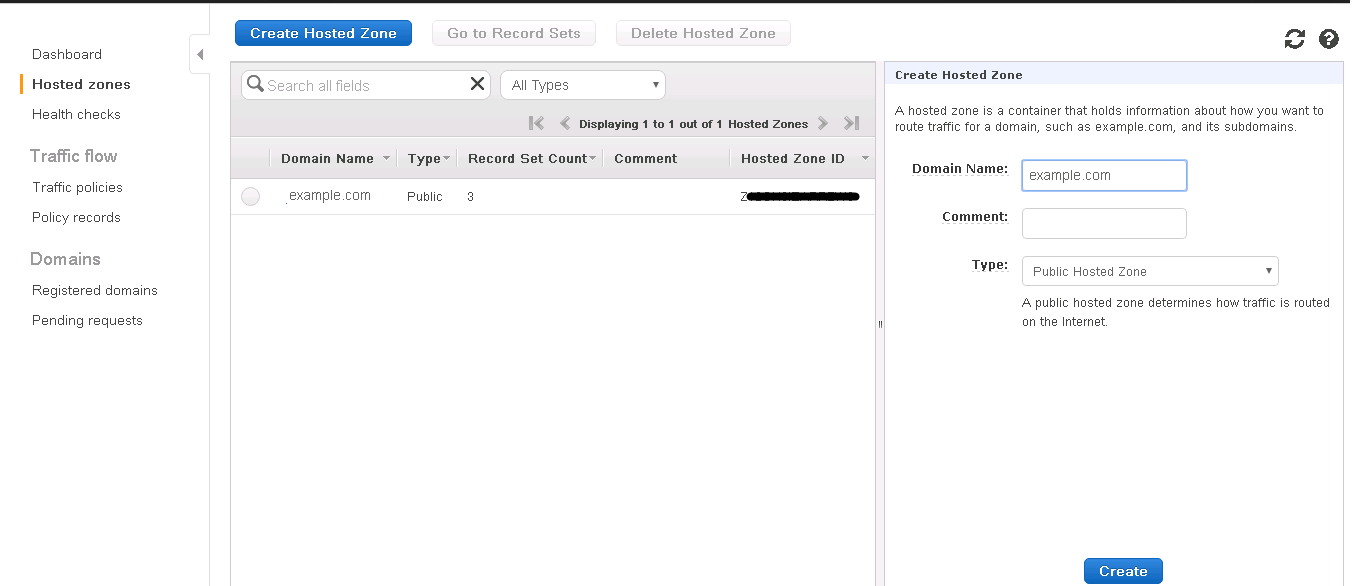
Step.2 On the Hosted Zones page, choose to create a domain like example.com
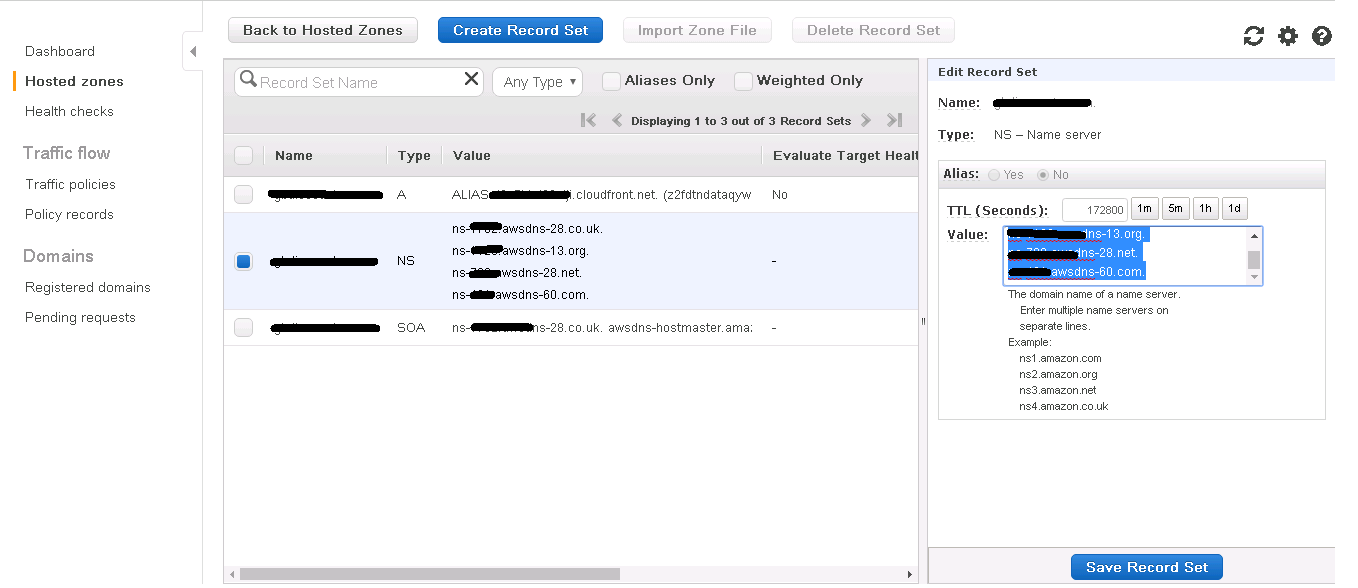
Step.3 Then copy all the NS location something like mentioned below
ns1.amazon.com
ns2.amazon.org
ns3.amazon.net
Ns4.amazon.co.uk
And point your domain to the above mentioned NS(Name Server) location, Settings will be in your Domain Hosted partner.
Step.4 Now click Record Sets option to create record set
Step.5 Choose Type A record from the list
Step.6 Select Yes from Alias Option
Step.7 Now put the Cloudfront URL in Alias Target which was generated while creating Distribution.
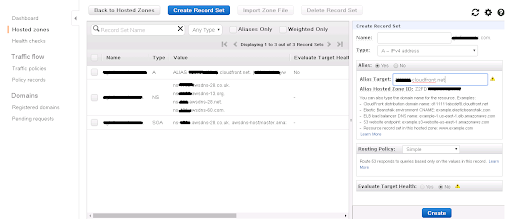
Step.8 Now hit the Create button to save the record set.
Now, your site is completely on SSL