Adding Multiple database server connections in PHPmyAdmin
We can use PHPmyAdmin for multiple database servers by adding them in the settings of PHPmyAdmin.
Steps to add a server in the UI of PHPmyAdmin:
Step 1: Click on [Settings] button on the home page of PHPmyAdmin.
Step 2: Click on Setup script link on the more settings section.

A new page of PHPmyAdmin setup will open in the new tab.
For Ubuntu system, if setup script page opened in new tab asks you for the username and password then follow these steps:
Open /etc/phpmyadmin/apache.conf file
# Authorize for setup
        <Files setup.php>
            # For Apache 1.3 and 2.0
            <IfModule mod_auth.c>
                AuthType Basic
                AuthName "phpMyAdmin Setup"
                AuthUserFile /etc/phpmyadmin/htpasswd.setup
            </IfModule>
            # For Apache 2.2
            <IfModule mod_authn_file.c>
                AuthType Basic
                AuthName "phpMyAdmin Setup"
                AuthUserFile /etc/phpmyadmin/htpasswd.setup
            </IfModule>
            Require valid-user
        </Files>
Comment out the “Require valid-user” line.
Then restart your apache server.
In overview tab, you can see the list of server for which the phpmyadmin is currently working.

Step 3: Click on [New server] button. Then Add a new server page open asking you to enter the hostname, port number, server alias name and some extra details that are required to setup a database.
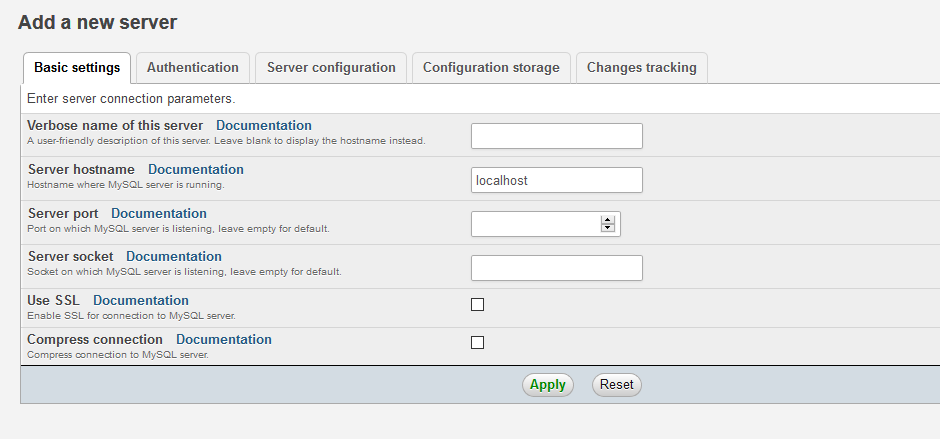
And click on Apply button to apply the settings.
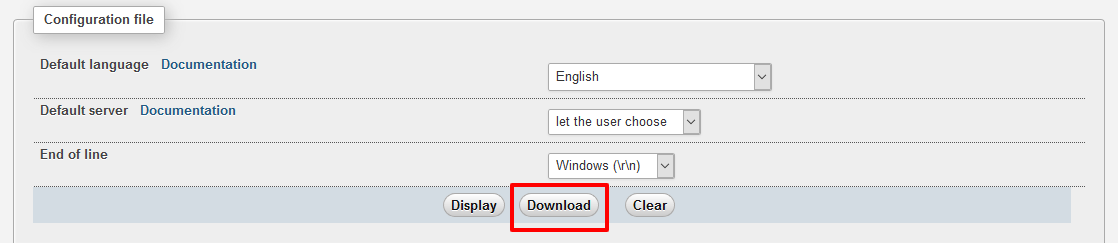
Step 4: click on Download button to download the config file and copy this file in the PHPMyAdmin folder. If there is already a file existing in the phpmyadmin file then replace that file with the new file.
Now, when you open the phpmyadmin then each time it will ask you the server on which you want to login.