Following are the steps to install RabbitMQ in Heroku App:
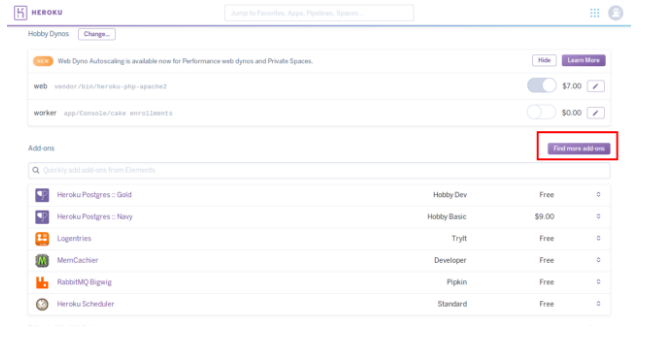
1. Install RabbitMQ (bigwig) on Heroku using find more add-ons like shown in the following screenshot:
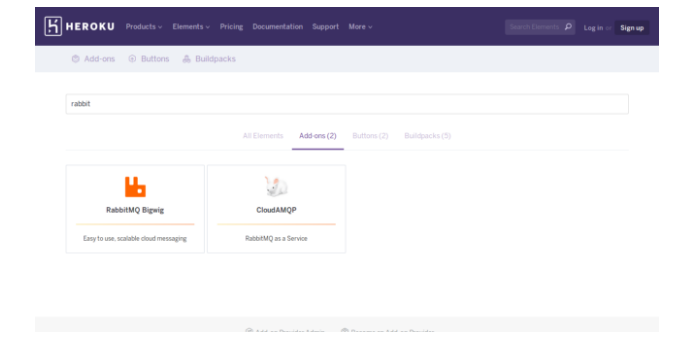
2. Search for rabbitmq using search bar as shown in the screenshot below:
3. Click on RabbitMQ Bigwig from the search results and it will show the list of all versions of RabbitMQ as shown below:

In the screenshot above, available packages are being displayed on the left side. Select any one of them and click on “Login to Install”:
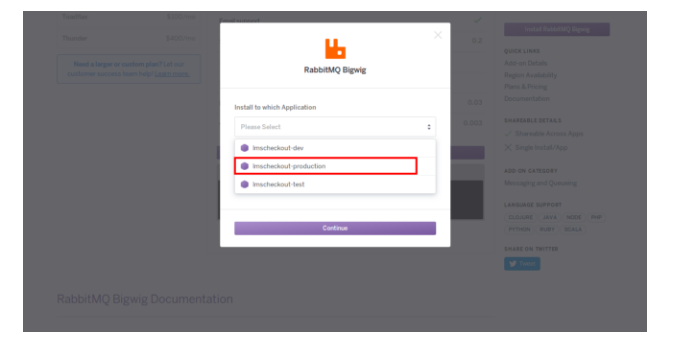
After that, select the app.
4. Add following code in the composer.json file of your project:
"require": {
  	 "php": ">=5.2.8",
  	 "ext-memcached": "*",
  	 "ext-bcmath": "*",
  	 "ext-soap": "*",
  	 "ext-gd": "*",
  	 "ext-mbstring": "*",
   	"aws/aws-sdk-php": "~2.6",
   	"php-amqplib/php-amqplib": "2.6.*"
	},
5. Using Heroku command line or ubuntu terminal, go to the project and run following command:
In ubuntu terminal: php composer.phar update
Eg user@WBS-DT-0012:~/git/app_name$ php composer.phar update
In Heroku command line run: composer update
Following are the screenshots of updating composer using heroku console:

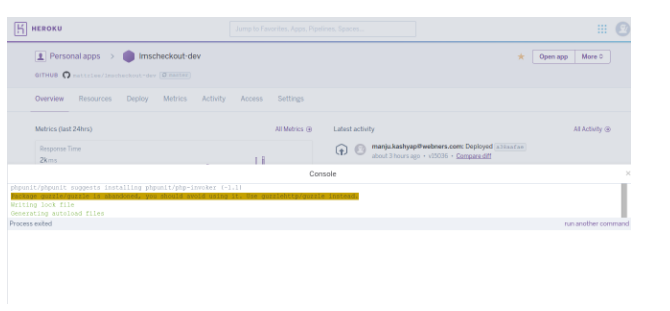
You will see that composer.lock and composer.json will get updated in the project.
6. Copy phpamqplib library in vendors folder of the project.
7. Run the following command to get RABBITMQ credentials for the publisher:
heroku config: get RABBITMQ_BIGWIG_TX_URL –app app name
and use them for creating connections in publisher.
Rewrite the connection credentials as follows:
$connection = new AMQPStreamConnection("hostname", port, "username", "password", "vhost");
Following are the examples for this:
heroku config:get RABBITMQ_BIGWIG_TX_URL –app app_name
output:amqp://GcBEabfr:C5Fvc_QZxghdk_xCyLtCVecExhaHKPDS@thin-wort-2.bigwig.lshift.net:10596/ECaZzKyKsNBX
Using these credentials to make a connection:
$connection = new AMQPStreamConnection("thin-wort-2.bigwig.lshift.net", 10596, "GcBEabfr", "C5Fvc_QZxghdk_xCyLtCVecExhaHKPDS", "ECaZzKyKsNBX");
8. Run following command to get RABBITMQ credentials for consumer:
heroku config:get RABBITMQ_BIGWIG_RX_URL --app app_name
then use them in consumer.
Note: rewrite the connection with new credentials
9. Push the changes.
10. Run publisher once from URL to check if the connection gets established or not using the following URL:
http://App_name/Publisher/publish
Now on Heroku, open RabbitMQ dashboard from installed add-ons, click on management console and check the connection in connections tab like shown in the screenshot below:
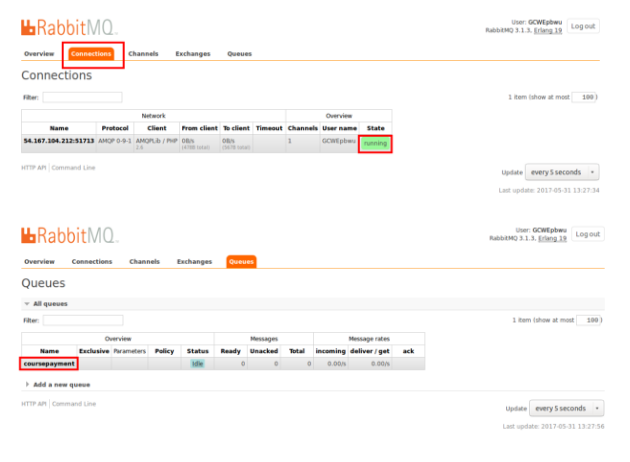
If the status is running then the rabbitmq has started working. If not, check your logs to replicate the issue.
How to write Publisher and Consumer
(….to be continued in next post)